AI Rigging & Animation
Rig a 3D character automatically with AI: skeleton and skin weights in 1-2 minutes. Works for humanoids, animals, birds and serpents, with 12 animations.
The Rigging tool adds a skeleton and skin weights to a 3D character automatically, so it can be animated. Rigging takes about 1-2 minutes and costs 15-20 credits, and a free pre-rig check tells you beforehand whether your model can be rigged.
| Cost | 20 credits (Prism) or 15 credits (Meshy), animations 15 credits each |
| Time | About 1-2 minutes |
| Input | GLB or FBX character model |
| Body types | Biped, quadruped, avian, serpentine (Prism); humanoid (Meshy) |
| Output | GLB or FBX with skeleton and skin weights, Mixamo-compatible (Prism) |
| Animations | 12 presets with automatic retargeting |
How do I rig a 3D model with AI?
Upload the character, run the free pre-rig check, pick a provider and body type, and click Rig Model. The AI places the joints and paints the skin weights for you, which replaces hours of manual work in Blender or Maya.
- Upload your 3D model (GLB or FBX) in the Rigging tool, or open it from your Dashboard
- Run the free pre-rig check to confirm the model can be rigged
- Choose a provider and the rig type that matches your character
- Click Rig Model and wait about 1-2 minutes
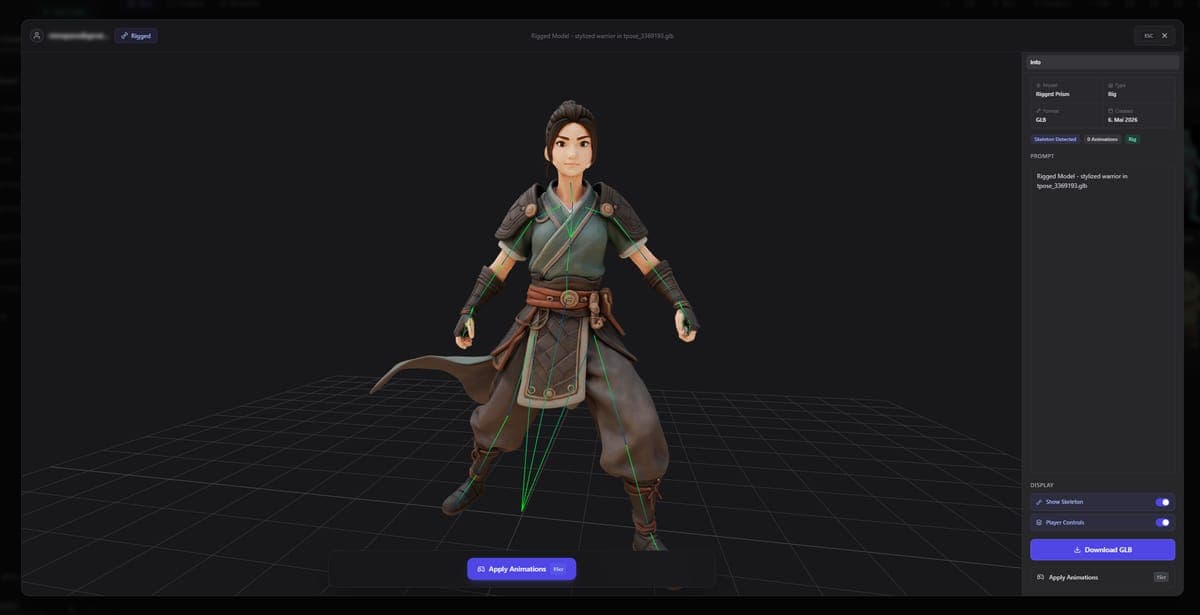
- Inspect the result in the rigged model viewer
- Download the rigged model or apply an animation
Which rigging provider should I use?
Use Prism for anything that is not a standard humanoid and when you want a Mixamo-compatible rig. Use Meshy for humanoid characters when you want the cheaper option with walk and run animations included.
| Provider | Credits | Body types | Extras |
|---|---|---|---|
| Prism | 20 | Biped, quadruped, avian, serpentine | GLB and FBX export, Mixamo-compatible rig |
| Meshy | 15 | Humanoid only | Walk and run animations included |
How do I prepare a model for rigging?
Use a single-mesh character in a T-pose or A-pose with clean geometry. Arms held away from the body give the AI a clear separation between limbs and torso, which leads to more accurate joints and skin weights.
- Pose: T-pose or A-pose works best. Other poses can be rigged, with less precise results for arms close to the body.
- Single mesh: one connected character rigs better than a model made of many separate parts.
- Textures: textured models are preferred, because surface details help the AI recognize body parts.
- Clean geometry: if the topology is messy, run the Remesh tool first.
- Pre-rig check: run it before spending credits. If it reports the model as unsuitable, remesh it and check that the limbs are clearly defined.
How do I animate a rigged model?
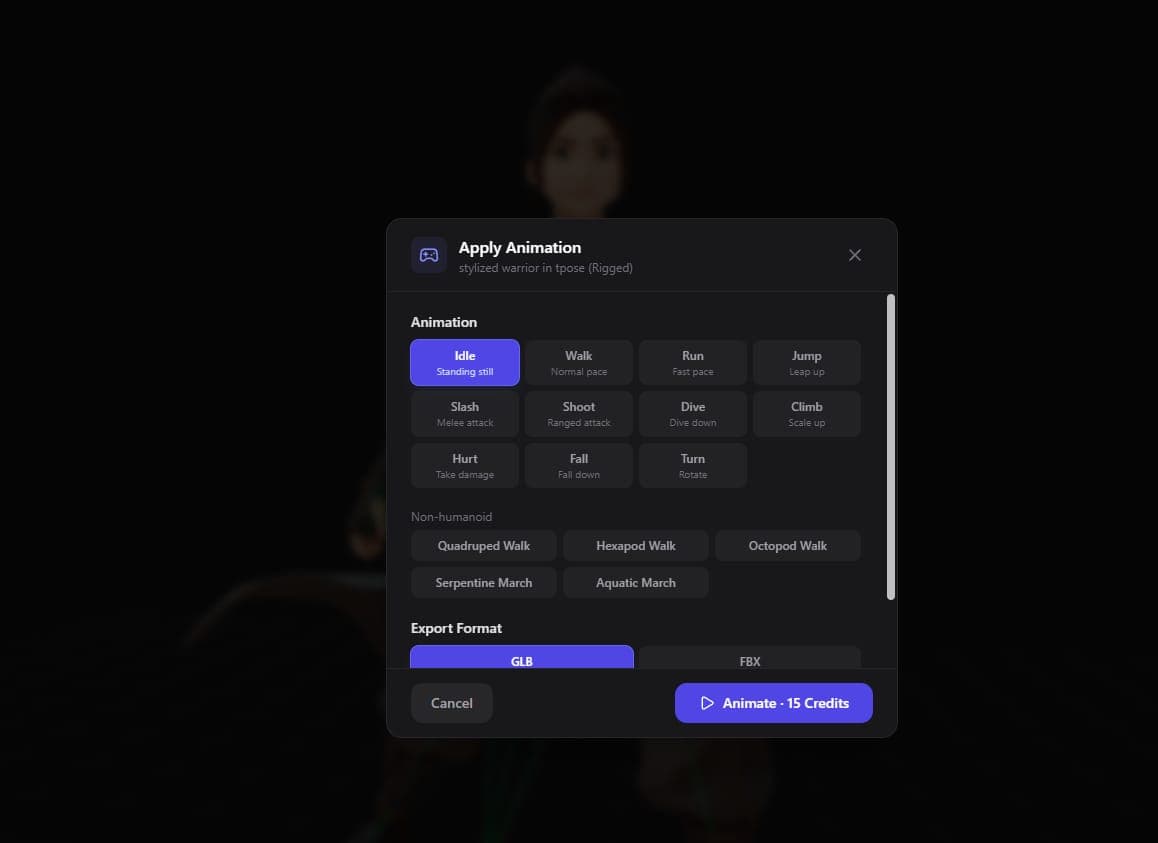
After rigging, pick one of 12 preset animations. Each costs 15 credits and is retargeted to your character's proportions automatically.
| Animation | Animation | Animation |
|---|---|---|
| Idle | Walk | Run |
| Jump | Dance | Wave |
| Salute | Boxing | Sword Slash |
| Sitting | Yoga | Celebration |
The rigged model viewer lets you check the result before downloading:
- Skeleton overlay to see where the joints are
- Play, pause and scrub through the animation
- Speed controls to slow down or speed up playback
- Lock position to keep the model centered during movement animations
Can I use the rig in Mixamo, Unity or Unreal?
Yes. Rigged models export as GLB or FBX with the skeleton and skin weights embedded, and Prism rigs follow the Mixamo bone naming convention. That means they work with Mixamo's animation library, Unity's Humanoid system and Unreal Engine's mannequin retargeting.
For your own animations, export the rig as FBX and animate it in Blender, Maya or your game engine. The preset animations are optional. Engine-specific import steps are in the Unity, Unreal Engine and Blender guides.
What's next
Add or replace textures with the Texture Generator, or manage your rigged models in the Dashboard.
Frequently Asked Questions
15 to 20 credits. Prism costs 20 credits and supports every body type, Meshy costs 15 credits for humanoid characters. Each preset animation applied afterward costs another 15 credits, and the pre-rig check is free.
Yes, with the Prism provider. Choose quadruped for four-legged animals, avian for birds and winged creatures, and serpentine for snakes and similar bodies. The AI adapts the bone placement to the creature's anatomy.
Smart Low Poly
Turn dense AI-generated 3D models into clean low-poly meshes with AI retopology: triangle or quad output, texture baking and optional UV unwrapping.
Segmentation Tool
AI-powered 3D model segmentation. Split a single mesh into logical parts like limbs, clothing, and accessories for editing, printing, or game pipelines.