Getting Started
Create your first AI-generated 3D model in under 5 minutes. No install, no credit card - just sign up and start generating.
Welcome! This quickstart gets you from zero to a finished 3D model in about five minutes. Everything runs in your browser - no downloads, no installs, no credit card required.
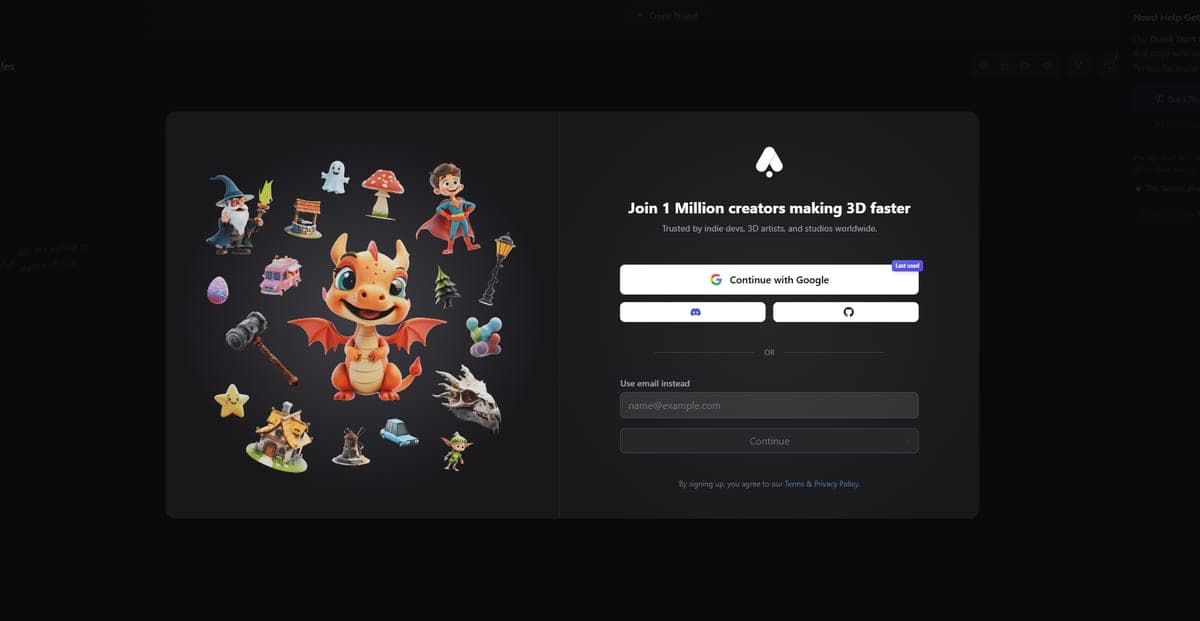
1. Create your account
Go to the AI 3D model generator at 3daistudio.com and click Get Started. Sign up with email or Google - takes about 10 seconds. You get free credits immediately, so you can jump straight into generating.
2. Your Dashboard
After signing in you land on the Dashboard. This is home base - every model you generate shows up here as a card you can preview, download, or process further.
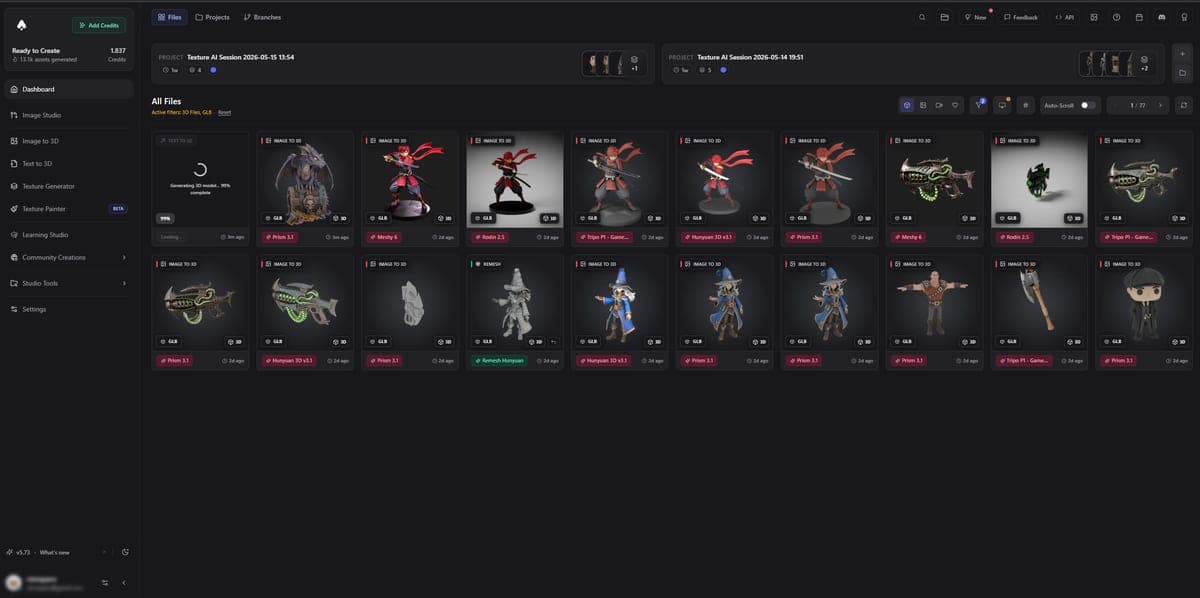
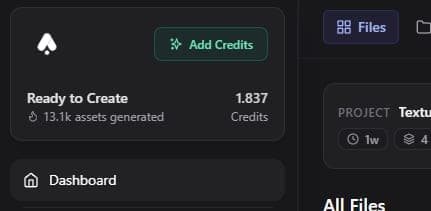
Look at the top-left corner for your credit balance. Credits are what you spend each time you generate a model. The free credits you got at signup are enough to try several generations.
3. Your first Text to 3D model
Let's generate something. Click Text to 3D in the sidebar (or open the Text to 3D model generator directly).
- Write a prompt - Describe what you want. Keep it specific: "a medieval treasure chest with gold trim" works better than "a chest". Mention materials, style, and details.
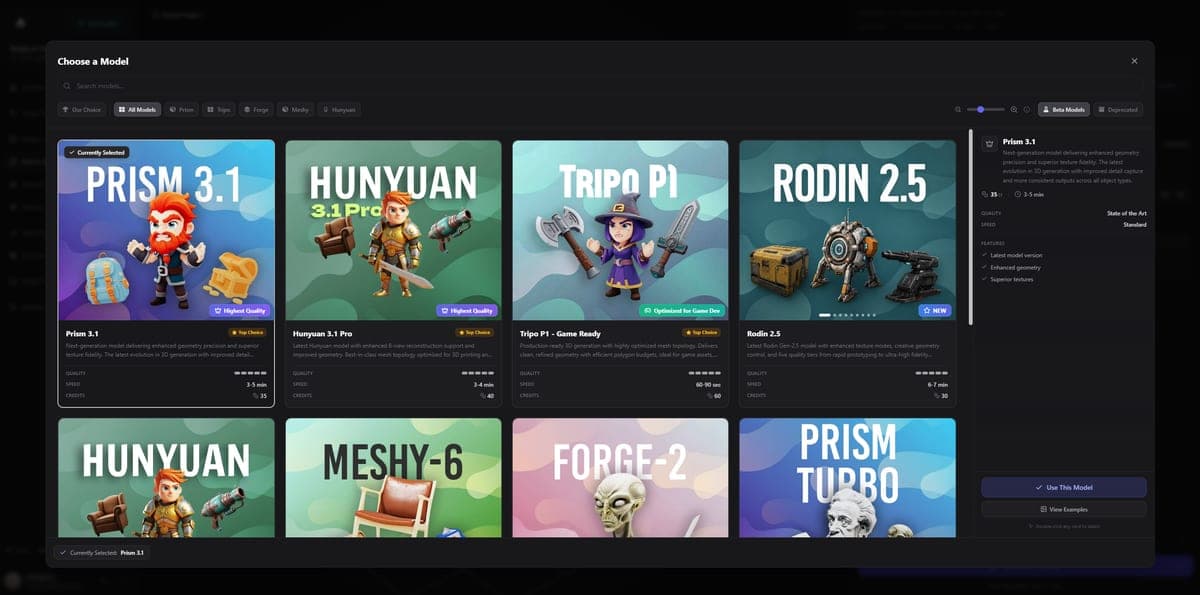
- Pick a model - You'll see these options:
- Prism 3.1 - Best quality, 35 credits, 3-5 minutes. The default and the right choice for most projects
- Tripo P1 / P2 - Game Ready - Clean low-poly topology in about a minute, 60 / 70 credits
- Hunyuan 3.1 Pro - Sharp, even meshes at a flat 40 credits
- Hit Generate and wait for your model to appear.
Start with Prism 3.1 at Standard texture quality to iterate on prompt wording, then switch to Ultra or Max texture quality for your final version. You may also spot a Texture Model setting on Prism 3.1 - Latest is an experimental new texturing pass at the same price, and results can vary while it's being evaluated.
Quick prompt tips:
- Be specific about materials: "brushed steel", "weathered wood", "matte ceramic"
- Mention style: "low-poly", "realistic", "stylized cartoon"
- See the full Prompt Tips guide for more
4. Your first Image to 3D model
Got a photo, sketch, or AI-generated image? You can turn it directly into a 3D model.
Click Image to 3D in the sidebar (or open the Image to 3D model generator directly).
- Upload your image - Drag it in or click to browse. For best results, use a clear shot of a single object on a simple background.
- Choose your AI model - Same options as Text to 3D (Prism 3.1, Tripo P1/P2, Hunyuan 3.1 Pro and more).
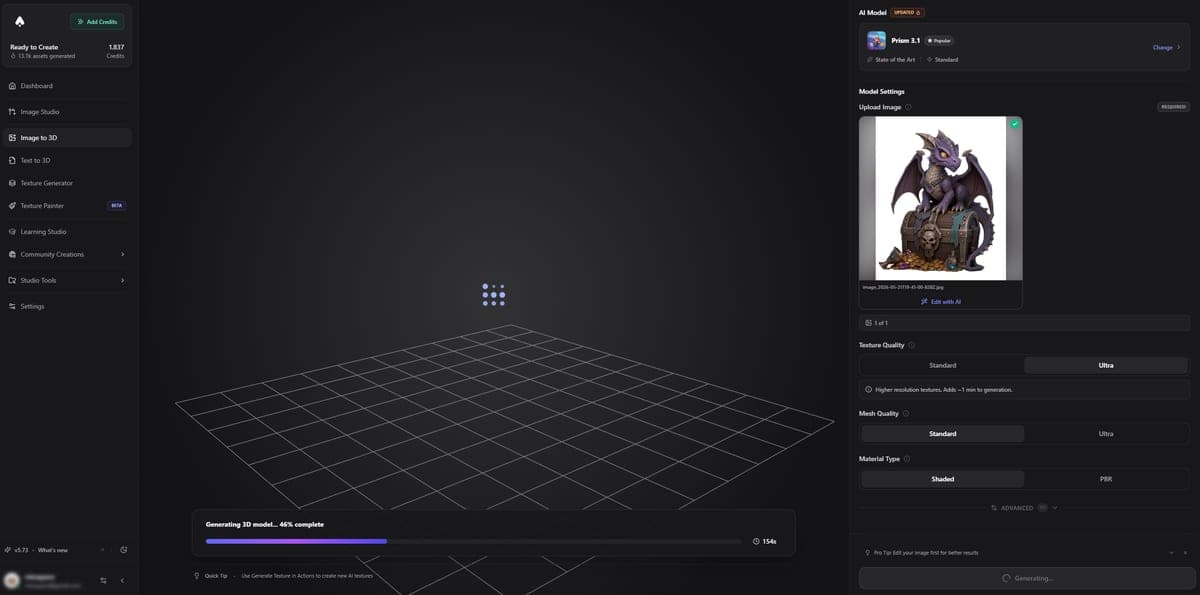
- Click Generate and watch the progress bar.
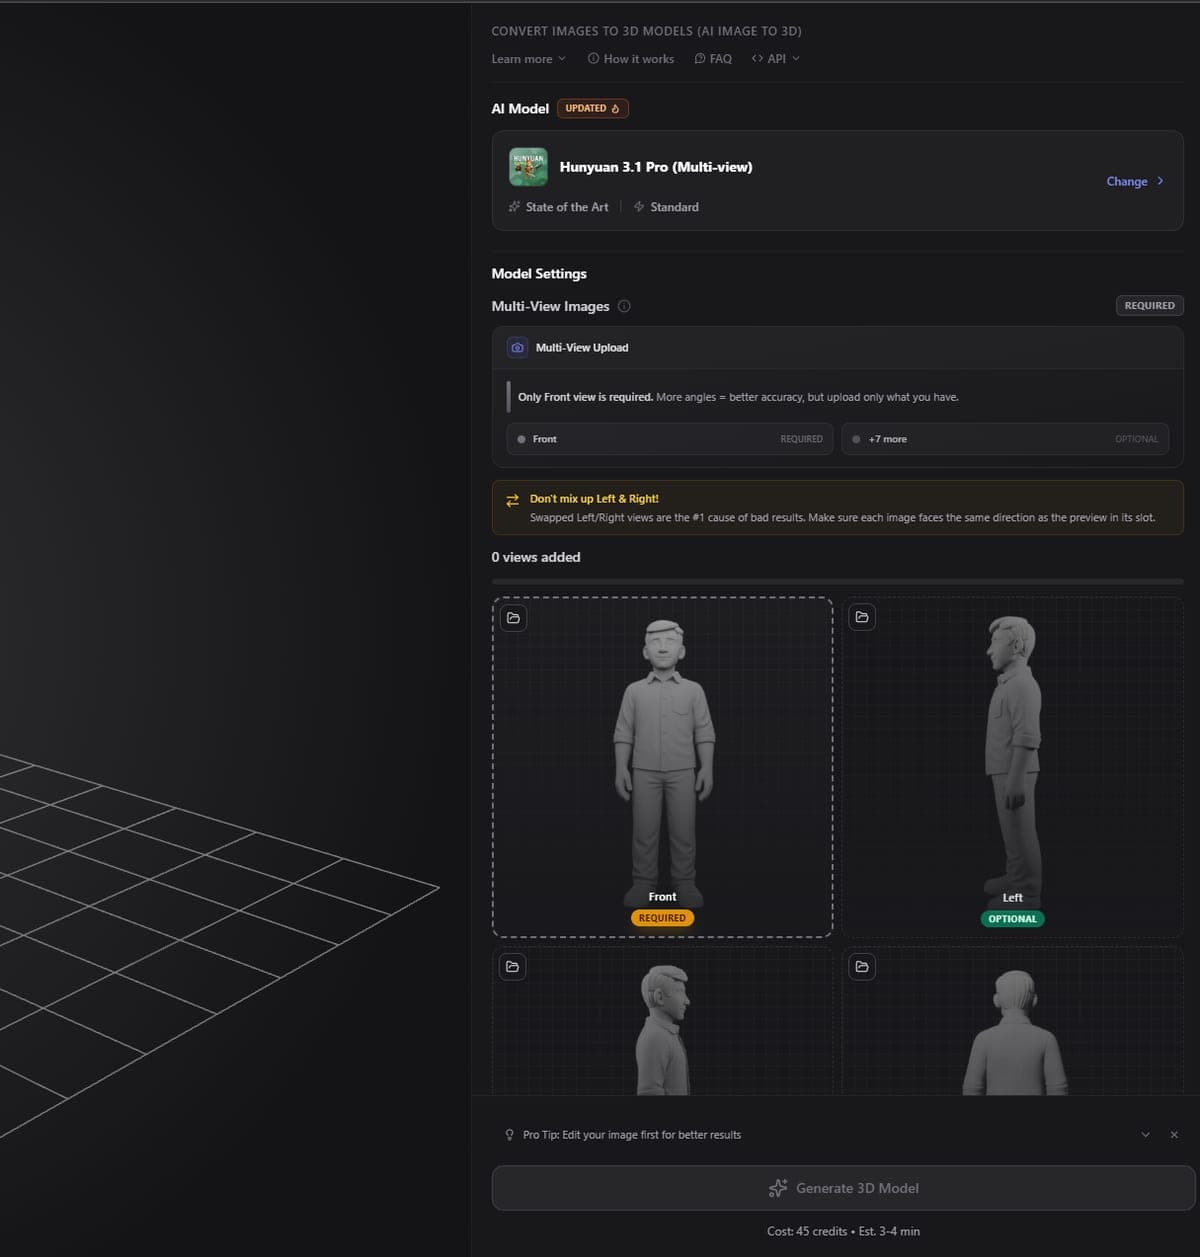
Multi-image mode: Upload photos from multiple angles (front, side, back) and the AI combines them for a more accurate reconstruction. Great for real objects you've photographed.
5. Preview and export
Once generation finishes, your model appears in the built-in 3D viewer. Rotate by dragging, zoom with the scroll wheel.
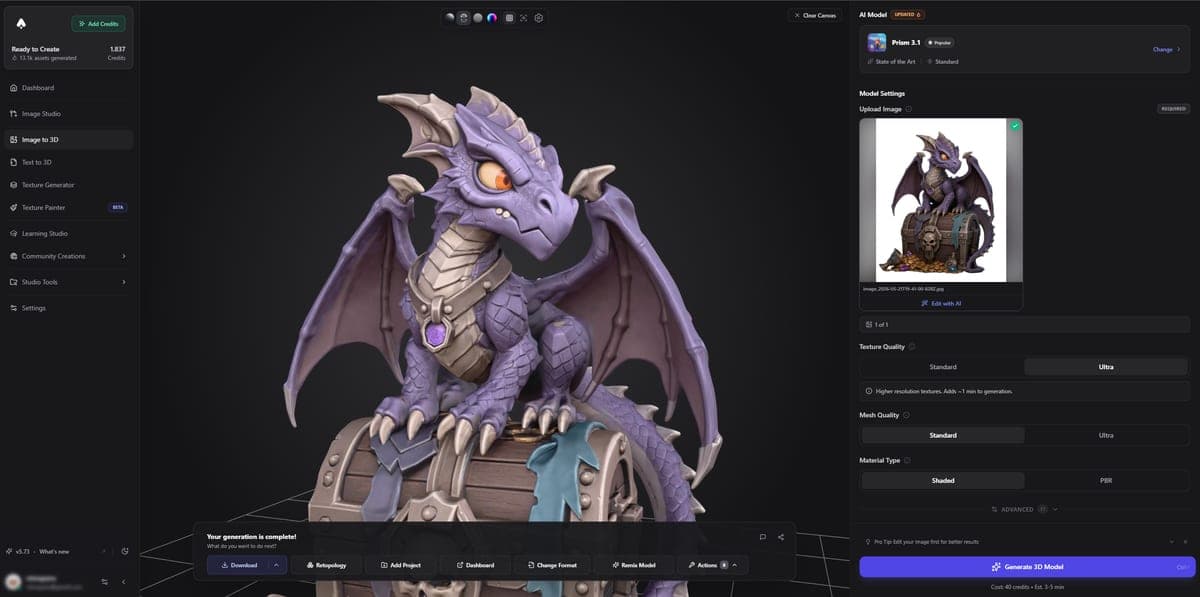
Happy with the result? Download it in any format:
| Format | Best for |
|---|---|
| GLB | Web, AR, general use (default) |
| FBX | Unity, Unreal Engine, Maya |
| OBJ | Blender, ZBrush, universal |
| STL | 3D printing |
| USDZ | Apple AR (iPhone, iPad, Vision Pro) |
| BLEND | Native Blender projects |
| 3MF | Color 3D printing |
Click the Download button on your model card and pick the format you need. That's it - your 3D model is ready to use.
6. Next steps
You've got the basics down. Here's where to go from here:
- Image Studio - Generate and edit reference images before converting to 3D. This two-step workflow (perfect image first, then convert) gives you the most control over your final model.
- Prompt Tips - Write better prompts, get better models.
- Texture Generator - Add or swap PBR textures on any model.
- Workflow Examples - Full start-to-finish workflows for games, printing, e-commerce.
- Export & Formats - Detailed breakdown of every format and when to use it.
- MCP (AI Assistants) - Generate models straight from Claude, ChatGPT, Cursor, Claude Code or Codex.
Questions? Join the Discord community or email support@3daistudio.com.
Frequently Asked Questions
Yes, you can start for free. 3D AI Studio gives you free credits when you sign up, enough to generate several 3D models without entering a credit card. After your free credits are used, you can purchase more or subscribe to a plan for ongoing use.
New accounts receive free credits on signup that let you try multiple generations right away. The exact amount may vary, but it is typically enough for 3-5 model generations depending on which AI model you choose. 3D AI Studio shows your credit balance in the top-left corner of the dashboard.
No experience needed at all. 3D AI Studio runs entirely in your browser - just type a description or upload an image and the AI generates a complete 3D model for you. There is no software to install and no technical knowledge required. The whole process takes about 2-5 minutes from signup to downloading your first model.
3D AI Studio runs in your web browser, so you do not need a powerful computer. Any modern browser (Chrome, Firefox, Safari, Edge) with WebGL support works. A stable internet connection is recommended since the AI processing happens on the server side, not on your device.
Start with Prism 3.1 (35 credits, best quality, 3-5 minutes) - it's the default and the safest choice for a first generation. Iterate on your prompt at Standard texture quality, then switch to Ultra or Max for the final production model. If you need clean low-poly topology for a game, pick Tripo P1 or P2 instead.
Text to 3D generates a model from a written description like "a medieval treasure chest with gold trim." Image to 3D converts a photo, sketch, or illustration into a 3D model. In 3D AI Studio, Image to 3D generally produces more accurate results when you have a specific look in mind, while Text to 3D is great for quick concept exploration.
Yes. Models you generate with 3D AI Studio are yours to use in commercial projects, including games, apps, product visualization, and 3D printing. Check the terms of service on 3daistudio.com for the full details on licensing and usage rights.
3D AI Studio offers multiple AI models to choose from (Prism, Tripo P Series, Hunyuan, Meshy, Rodin, Trellis), built-in tools for texturing, rigging, remeshing, and format conversion, plus direct integrations with Blender, Unity, Unreal Engine, and more. It is an all-in-one platform rather than just a single generation tool. You can go from prompt to game-ready asset without leaving the site.
3D AI Studio supports 9 export formats: GLB, FBX, OBJ, STL, USDZ, BLEND, 3MF, Collada (.dae), and PLY. GLB is the default and works almost everywhere. Use FBX for game engines, STL for 3D printing, and USDZ for Apple AR. See the Export Formats page for a detailed comparison.