3D Relief Generator
Turn photos into 3D relief sculptures for 3D printing, CNC carving, and laser engraving. AI depth estimation builds printable bas-reliefs from any image.
The Relief Generator turns any photo into a 3D relief sculpture - the kind of raised surface you see on coins, decorative panels, and carved plaques. Upload an image, and AI converts it into a depth map that becomes printable 3D geometry. The output works for 3D printing, CNC milling, and laser engraving.
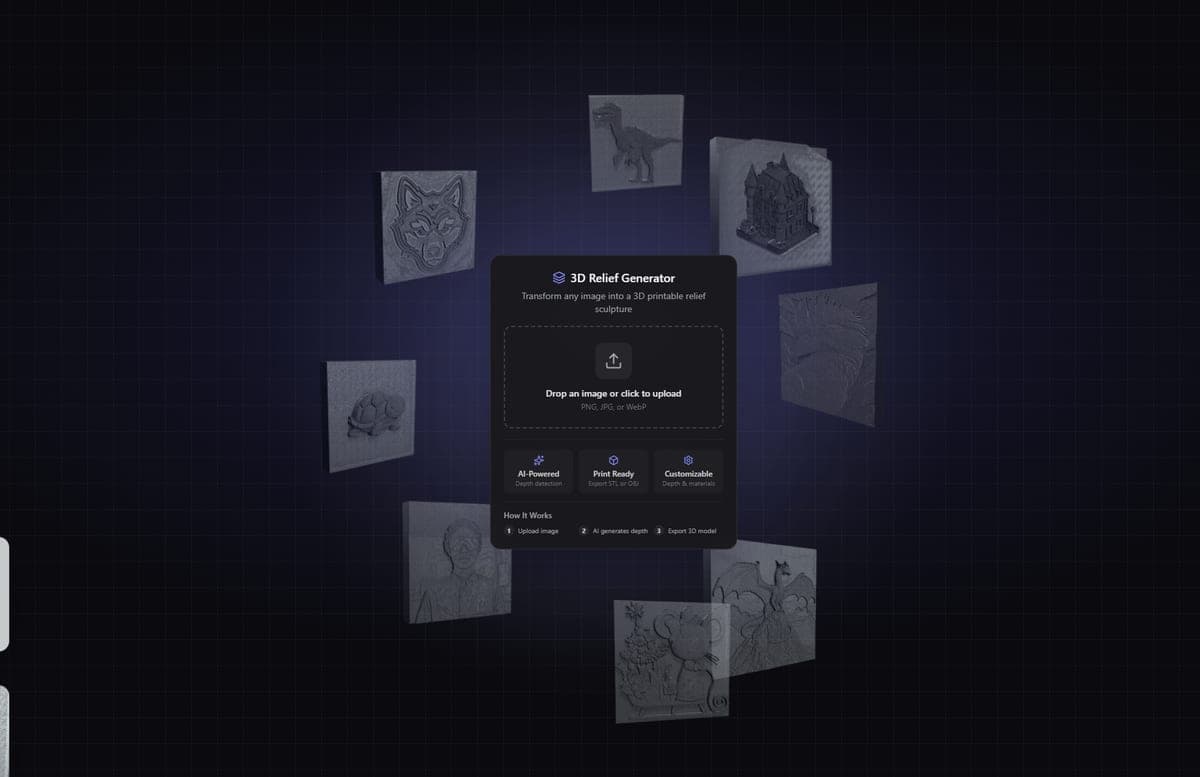
How It Works
The tool uses a two-stage process:
- Depth map generation (server-side) - AI analyzes your photo and produces a grayscale height map where bright areas become raised surfaces and dark areas stay flat. This step costs credits.
- Mesh building (client-side) - Your browser instantly converts that depth map into a 3D mesh you can rotate, adjust, and export. No extra credits needed for tweaking settings.
This means you can regenerate the depth map once and then experiment with dozens of different 3D settings for free.
Choosing a Depth Style
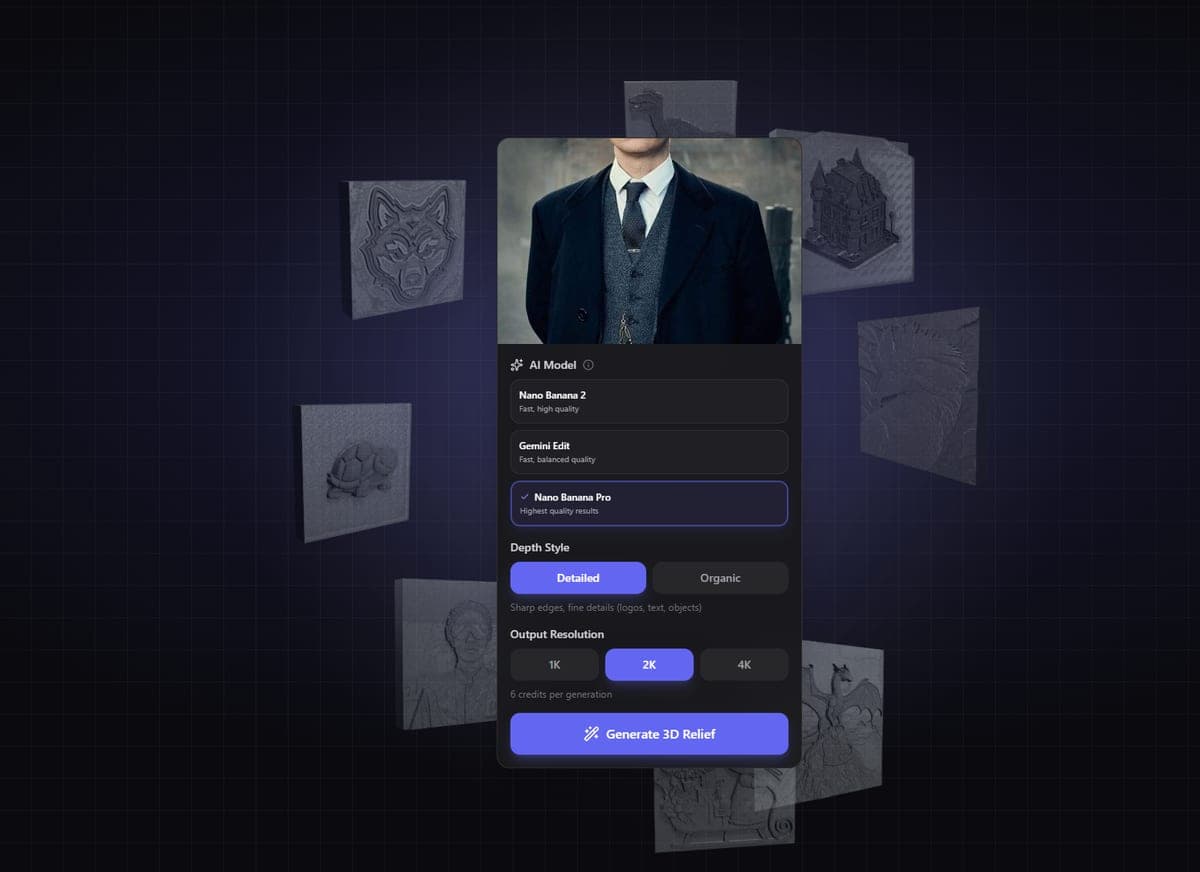
Before generating, pick a depth style that matches your image:
- Detailed - Best for objects, logos, architecture, and anything with sharp edges or fine surface detail. Preserves crisp lines and small features.
- Organic - Best for portraits, animals, and smooth natural shapes. Produces gentler depth transitions that avoid harsh artifacts on skin and curved surfaces.
If you're unsure, try Detailed first. Switch to Organic if the result looks too noisy or harsh on smooth areas.
AI Models
| Model | Credits | Max Resolution | Best For |
|---|---|---|---|
| Nano Banana 2 | 4 | 2K | General use, fast results |
| Gemini Edit | 4 | 2K | Fine detail, complex scenes |
| Nano Banana Pro | 6-12 | 4K | High-res prints, large reliefs |
Nano Banana Pro supports 4K resolution but doubles in cost (12 credits) at that setting. For most projects, 1K or 2K at 4 credits is plenty.
3D Settings Explained
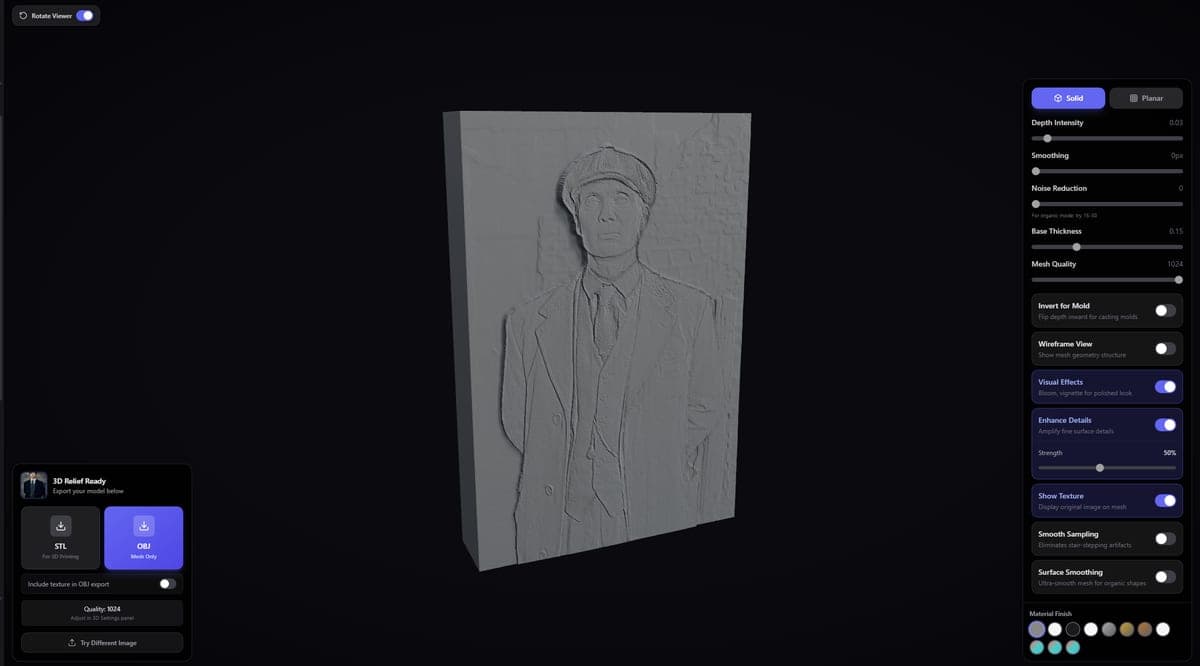
After generation, you get a live 3D preview with real-time controls. Settings are grouped by function:
Mesh Mode
- Solid - Creates a watertight mesh with a back plate. Use this for 3D printing where your slicer needs a closed volume.
- Planar - Surface only, no back. Use for CNC carving paths or laser engraving files where you just need the relief surface.
Depth Controls
- Depth Intensity (0-0.3) - How tall the relief is. Start around 0.1 for subtle reliefs, go higher for dramatic depth.
- Depth Cutoff (0-95%, planar mode only) - Removes background geometry below a threshold. Useful for isolating a subject from its background.
- Base Thickness (0.01-0.5, solid mode only) - How thick the back plate is. Thicker = stronger print but more material.
- Invert for Mold - Flips the depth so raised areas become recessed. Use this when making casting molds or stamp negatives.
Smoothing and Cleanup
- Smoothing (0-20px) - Blurs the depth map before mesh generation. Removes noise but also softens detail.
- Noise Reduction (0-50) - Targets random speckling without blurring edges as much. Recommended 15-30 for portraits.
- Surface Smoothing (1-10 passes) - Laplacian smoothing applied to the final mesh. Higher passes = smoother polygons.
- Enhance Details (paid only) - Amplifies fine surface detail. Good for architectural elements and text.
Quality and Display
- Mesh Quality (128-1024) - Polygon resolution of the output. Higher values capture more detail but produce larger files.
- Show Texture - Toggles the original image mapped onto the mesh surface.
- Material Presets - 12 options including Matte White PLA, Metallic Bronze, Glossy Resin, Ceramic, and more. These are for preview only and don't affect the exported file.
Solid vs Planar Mode
Use Solid when:
- 3D printing (FDM or resin) - slicers need watertight geometry
- Creating standalone decorative pieces
- Making lithophanes (thin relief panels that show images when backlit)
Use Planar when:
- CNC milling - you only need the carving surface, not the stock material
- Laser engraving - flat relief paths without unnecessary underside geometry
- Combining the relief with other 3D models in external software
Export Options
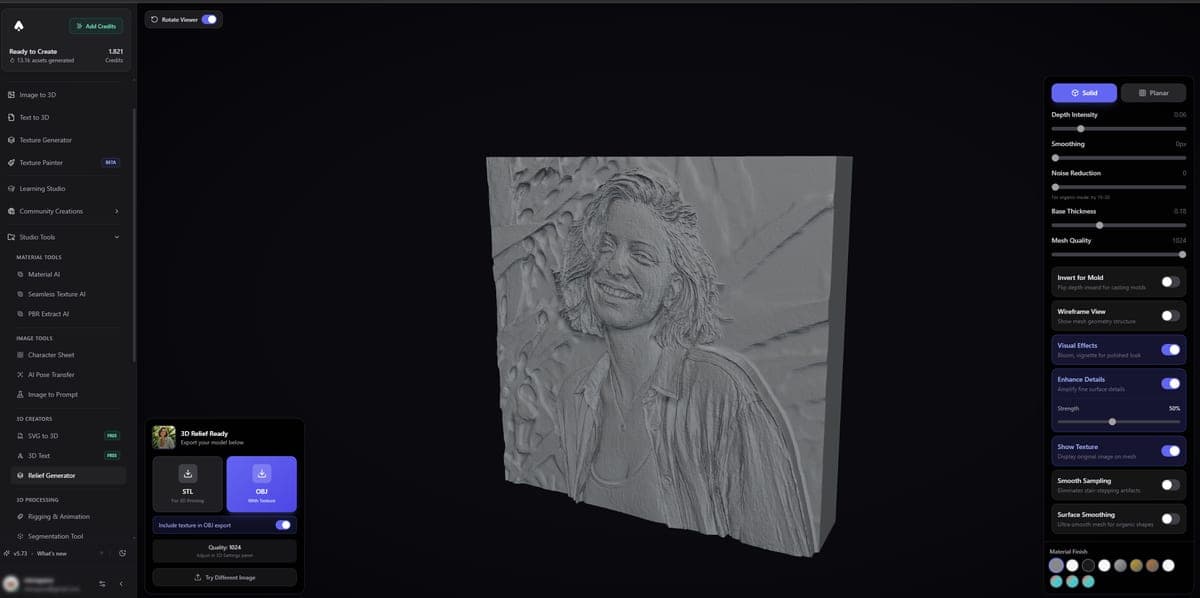
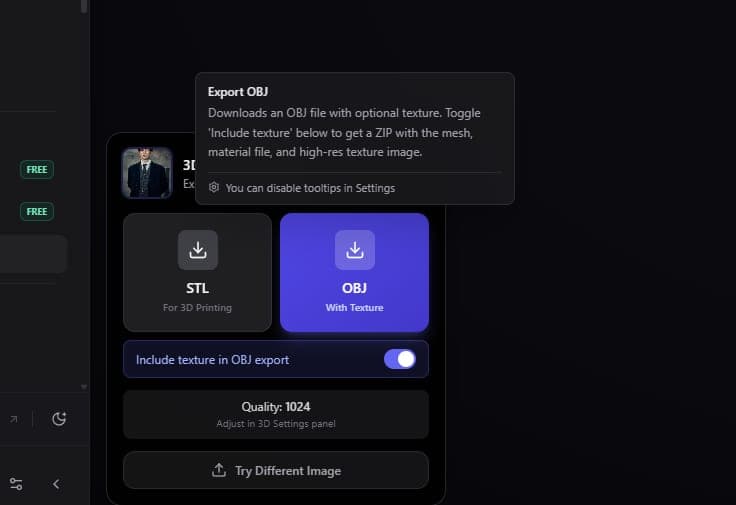
Download your relief in two formats:
- STL - Geometry only. The standard for 3D printing and CNC. Works with every slicer and CAM program.
- OBJ - Includes geometry plus optional texture as a ZIP. Use when you want the original image mapped onto the relief surface.
Export requires a paid plan. Free users can generate and preview reliefs with full 3D controls, but downloading is locked until you upgrade.
Tips for Best Results
- High-contrast images work best - Clear separation between subject and background produces cleaner depth maps.
- Portraits - Use Organic depth style, noise reduction at 20-30, and smoothing at 5-10px. This prevents skin from looking bumpy.
- Logos and text - Use Detailed depth style with minimal smoothing. Bump up Enhance Details if available.
- Large prints - Use Nano Banana Pro at 4K and mesh quality 512+. The extra resolution prevents visible stair-stepping on big pieces.
- Lithophanes - Solid mode, thin base (0.05-0.1), low depth intensity (0.05-0.08). Print in white PLA or resin for best light transmission.
- Avoid busy backgrounds - Crop your image tight around the subject, or the relief will include unwanted background geometry.
Common Use Cases
- 3D printed wall art - Turn family photos into framed relief panels
- Lithophanes - Thin relief prints that reveal an image when you hold them up to light
- CNC carvings - Mill decorative panels, signs, or architectural details from wood or aluminum
- Custom gifts - Pet portraits, wedding photos, or logos as physical keepsakes
- Mold making - Use Invert for Mold to create negatives for casting in resin or chocolate
- Laser engraving - Planar mode exports work directly as depth paths for laser engravers
What's Next
Ready to make your first relief? Head to the 3D Relief Generator and upload a photo. For full 3D models from images (not just reliefs), check out Image to 3D.
Frequently Asked Questions
Depth map generation in 3D AI Studio starts at just 4 credits using Nano Banana 2 or Gemini Edit. Nano Banana Pro costs 6 credits at standard resolution and 12 credits at 4K. Once you have the depth map, all 3D mesh adjustments (height, smoothing, resolution, materials) are free since they run in your browser.
Yes, the Relief Generator in 3D AI Studio works great for lithophanes. Use Solid mode with a thin base (0.05-0.1), low depth intensity (0.05-0.08), and export as STL. Print in white PLA or translucent resin for the best effect. When you hold the thin print up to a light source, the image appears through varying thickness.
High-contrast photos with clear separation between subject and background produce the cleanest reliefs. Portraits, logos, architectural shots, and product photos all work well in 3D AI Studio's Relief Generator. Avoid very dark images, low-contrast scenes, or photos where the subject blends into the background.
Use Planar mode for CNC milling. It generates only the relief surface without a back plate, which matches how CNC carving works - you're cutting into existing stock material. 3D AI Studio exports the planar mesh as STL, which you can import directly into your CAM software (Fusion 360, VCarve, etc.) as a carving toolpath surface.
Yes. Enable "Invert for Mold" in 3D AI Studio's Relief Generator before exporting. This flips the depth so raised areas become recessed cavities, giving you a negative you can print and use as a casting mold. Works well for resin, chocolate, soap, and other pourable materials.
For large prints (over 15cm), use Nano Banana Pro at 4K resolution with mesh quality set to 512 or higher in 3D AI Studio. This prevents visible stair-stepping on the relief surface. The extra resolution costs 12 credits instead of 4, but it's worth it for pieces where you'll see fine surface detail up close.
3D Text
Turn any text into a 3D model for free. Choose from 16 fonts, customize depth, materials, and lighting, and export as GLB or PNG. No signup needed.
Prompt Tips
Practical prompt tips for Text to 3D, Image Studio generation, and image editing. Real examples that work, model-specific advice, and common mistakes to avoid.