Edit
Edit images using AI models. Describe changes in plain text to swap objects, change styles, fix lighting, remove backgrounds, and more.
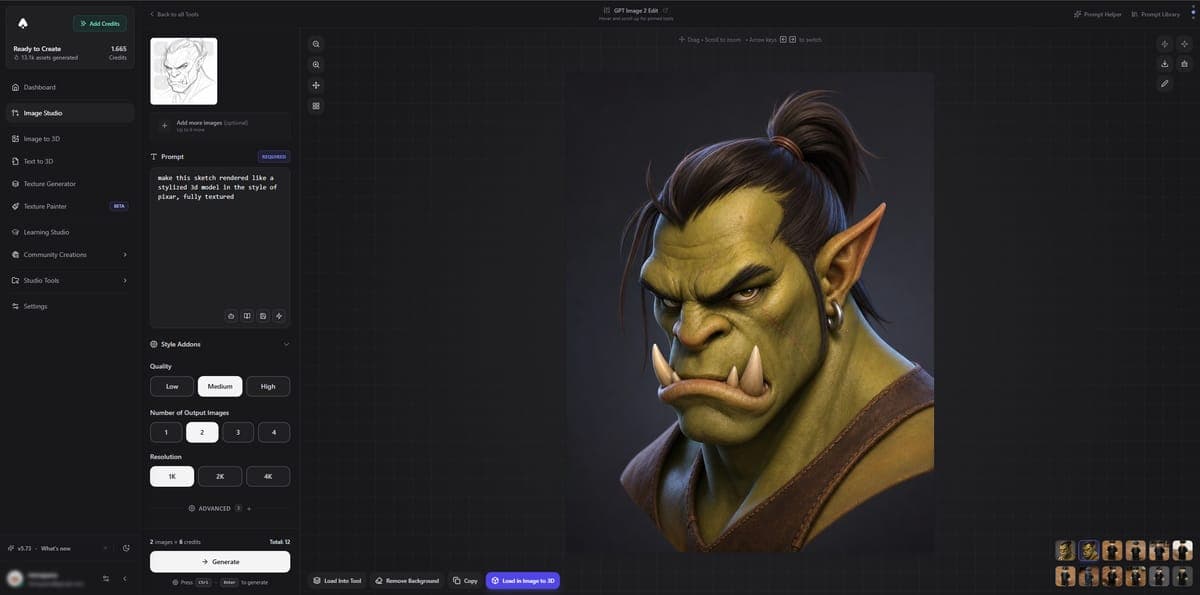
Edit lets you modify existing images using AI. Upload any image, describe the changes you want in plain text, and the AI applies them. You can change styles, swap objects, fix lighting, remove elements, or transform a rough sketch into a polished render.
Available Models
| Model | Credits | Best for |
|---|---|---|
| GPT Image 2 Edit | 3 | Precise edits, text rendering, photorealism |
| Nano Banana 2 Edit | 4-12 | Flexible resolution, up to 14 refs |
| Nano Banana Pro Edit | 8-14 | Highest quality edits |
| Gemini Edit | 4-8 | Multi-image edit, quick iterations |
| Flux 2 Edit | 4 | Multi-image Flux editing |
| Flux 2 Flex Edit | 6-10 | Precision with guidance control |
| Flux 2 Pro Edit | 8 | Commercial-grade editing |
| SeedDream v5 Lite Edit | 5 | Multi-reference blending, up to 14 images |
| Flux Kontext | 3-6 | Combine/edit up to 4 images |
Key Principles
Getting good results from AI editing comes down to a few core ideas:
- Say what to change AND what to keep. If you only describe the change, the AI might alter things you wanted to preserve. For example: "Change the hat to red, keep everything else the same."
- One change at a time. Making multiple changes in a single edit can lead to unpredictable results. Do one edit, check the result, then make the next change.
- Match the lighting. If you are adding or swapping objects, mention the lighting direction and intensity so new elements blend naturally with the existing scene.
Common Edit Types
Here are some of the most popular ways people use the Edit tools:
Style transfer
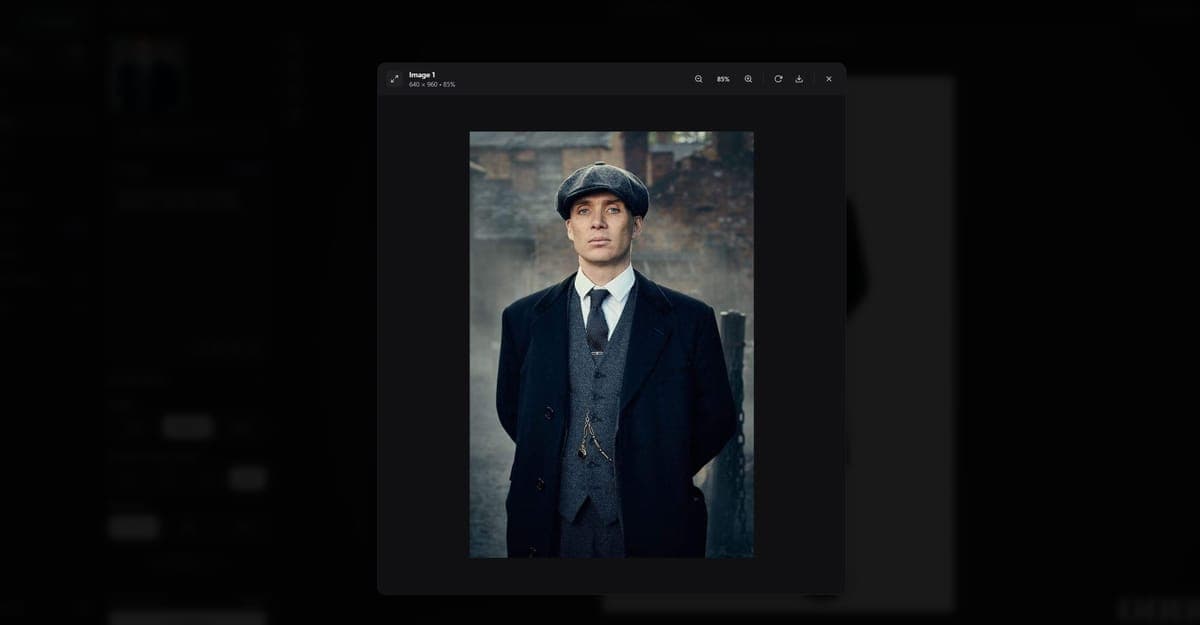
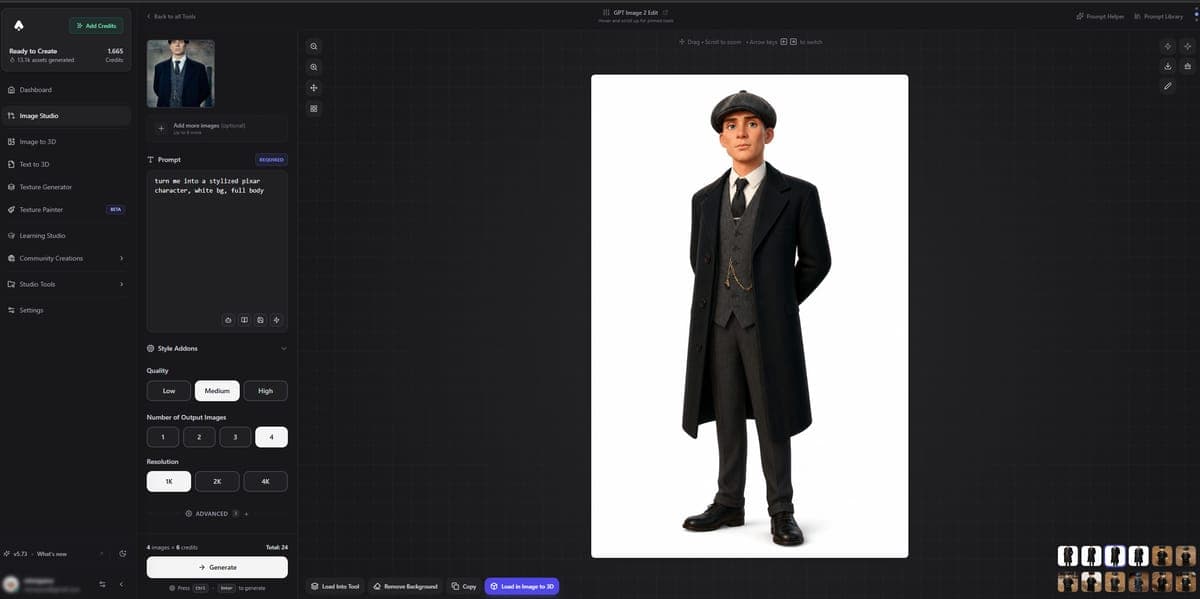
Upload a photo and ask the AI to "turn this into Pixar 3D style" or "make this look like a watercolor painting." The AI keeps the composition and subject but changes the entire visual style.
Background changes
Describe a new background: "Place this character in a forest at sunset" or simply "remove the background and make it transparent."
Object swaps
Replace specific elements: "Change the sword to a battle axe" or "replace the wooden table with a glass one."
Relighting
Adjust the mood: "Add dramatic side lighting" or "change to warm golden hour lighting from the left."
Sketch to render
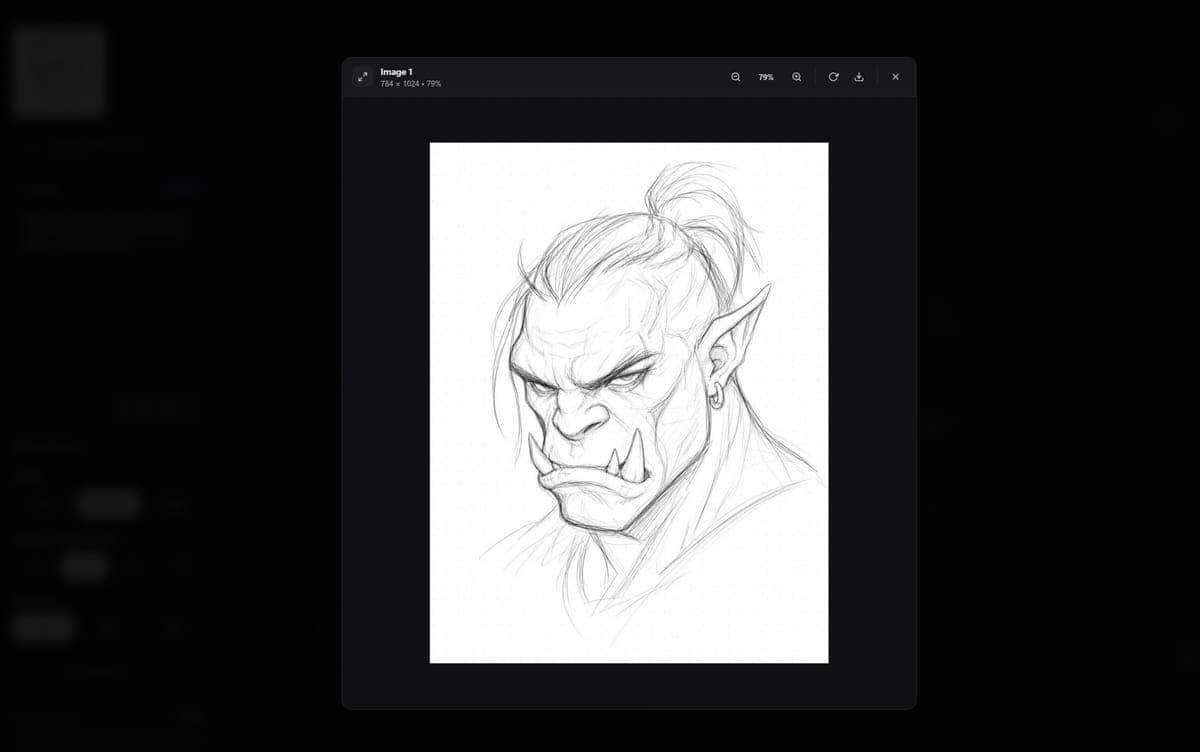
Upload a rough sketch and describe what you want: "Turn this sketch into a detailed 3D render of a robot, metallic materials, studio lighting." This works especially well with GPT Image 2 Edit and Nano Banana 2 Edit.
Tips for 3D Conversion
If you plan to convert your edited image to a 3D model using Image to 3D, a few edits can make a big difference:
- Clean up the background. Remove busy or distracting backgrounds. A clean white or neutral background gives the 3D model generator a much easier job.
- Center the subject. Make sure the object fills the frame and is centered. Crop out unnecessary empty space.
- Fix any artifacts. If the original image has AI artifacts, glitchy areas, or extra limbs, clean those up before sending to 3D conversion. It is much cheaper to fix in 2D than to regenerate the 3D model.
- Use consistent lighting. Flat, even lighting from the front works best for 3D conversion. Avoid dramatic shadows that might confuse the depth estimation.
For the full recommended workflow from image to 3D model, see Recommended Workflow.
Ready to edit? Try the AI Image Editor -- free credits on signup.
Frequently Asked Questions
Yes. In 3D AI Studio, you upload any image and type what you want changed in plain English. For example, "change the background to a beach at sunset" or "make this person look like a cartoon character." The AI interprets your text and applies the edit while preserving parts you did not mention.
GPT Image 2 Edit (3 credits) excels at precise, targeted changes like swapping specific objects, adding text, and photorealistic adjustments. Flux 2 Edit (4 credits) is better for style transformations and artistic changes across the whole image. In 3D AI Studio, you can try both on the same image to see which produces better results for your specific edit.
Upload your image to the Edit tool in 3D AI Studio and write a prompt like "replace the background with a cozy coffee shop interior" or "make the background a plain white studio." The AI keeps your subject intact and generates a new background. For cleanest results, use GPT Image 2 Edit or Nano Banana 2 Edit.
Absolutely. Upload your photo and write something like "turn this into a Pixar-style 3D character" or "make this look like anime art." 3D AI Studio's edit models handle full style transfers while preserving the person's likeness and pose. Nano Banana 2 Edit and GPT Image 2 Edit both work well for this.
The output resolution depends on the model and settings you choose. GPT Image 2 Edit outputs at fixed sizes, while Nano Banana 2 Edit supports flexible resolution from 0.5K to 4K. In 3D AI Studio, you can upscale the edited result afterward using the Upscale tools if you need a higher resolution version.
In 3D AI Studio, editing starts at 3 credits per edit with GPT Image 2 Edit. Nano Banana 2 Edit ranges from 4-12 credits depending on resolution, and Nano Banana Pro Edit costs 8-14 credits for the highest quality. Most users find GPT Image 2 Edit offers the best value for typical edits.
Yes. Nano Banana 2 Edit supports up to 14 reference images, and Flux Kontext lets you combine and edit up to 4 images together. This is useful in 3D AI Studio when you want to blend elements from multiple sources or maintain style consistency across a series of edits.
Style transfers, background changes, and object swaps produce the most reliable results. Edits that work less well include very precise pixel-level adjustments, changing small text, or modifying hands and fingers. In 3D AI Studio, the key to good results is being specific about what to change and what to keep in your prompt.
After editing in 3D AI Studio, clean up the background (make it white or transparent), center the subject, and fix any AI artifacts. Use flat, even lighting and make sure the object fills the frame. Then send it to Image to 3D directly from the editor with one click.
3D AI Studio keeps your original image intact. Each edit creates a new output, so your source is never modified. You can iterate on the same original with different prompts as many times as you want, comparing results side by side until you get the perfect edit.
Generate
Generate images from text prompts using 15+ AI models including ImageGen 4, Flux 2, GPT-Image, and more. Model comparison, credit costs, and prompting tips.
Convert
Convert images into 15 different art styles including anime, oil painting, pixel art, figurines, and more. Pick a style, choose an AI model, and transform any image.