SVG to 3D: Turn Vector Files into 3D Models
Convert SVG vector files into extruded 3D models right in your browser. Free tool for turning logos, icons, and vector art into GLB or PNG exports.
The SVG to 3D tool takes any SVG file and extrudes it into a 3D model - right in your browser. Everything runs client-side, so your files never leave your computer. It's completely free, no credits or signup required.
It works great for logos, icons, typography, and brand assets. You get a live 3D preview with full material and lighting controls, then export as GLB (3D model) or PNG (transparent screenshot).
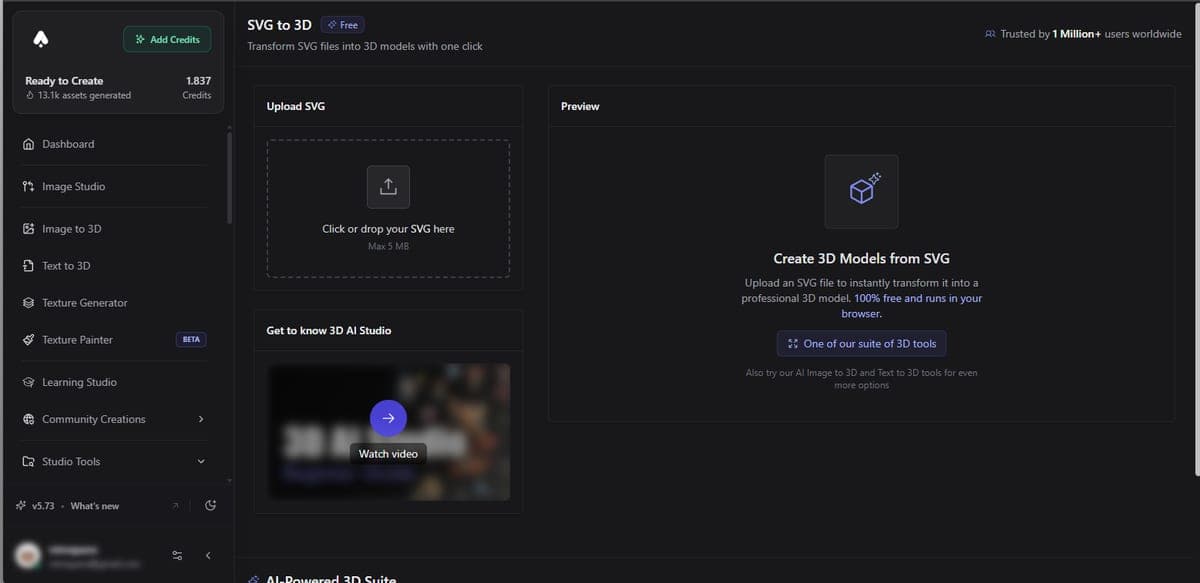
How to Use It
1. Upload your SVG
Drag and drop an SVG file onto the upload area, or click to browse. Max file size is 5MB.
2. Preview in 3D
Your SVG appears as an extruded 3D model with a live preview you can rotate, zoom, and pan. The tool preserves your original SVG colors by default.
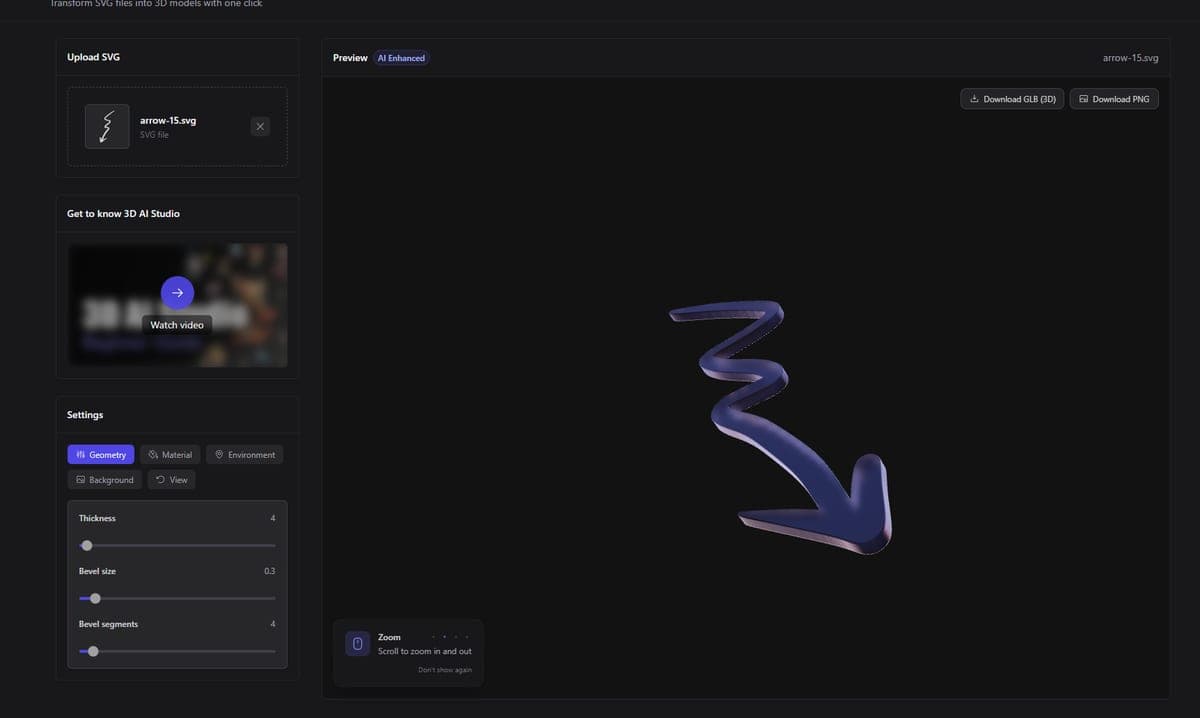
3. Adjust settings
Use the settings panel to tweak thickness, materials, lighting, and more. Changes show up instantly in the preview.
4. Export
Download your result as a GLB file for use in 3D apps, games, or AR - or grab a transparent PNG for presentations and marketing materials.
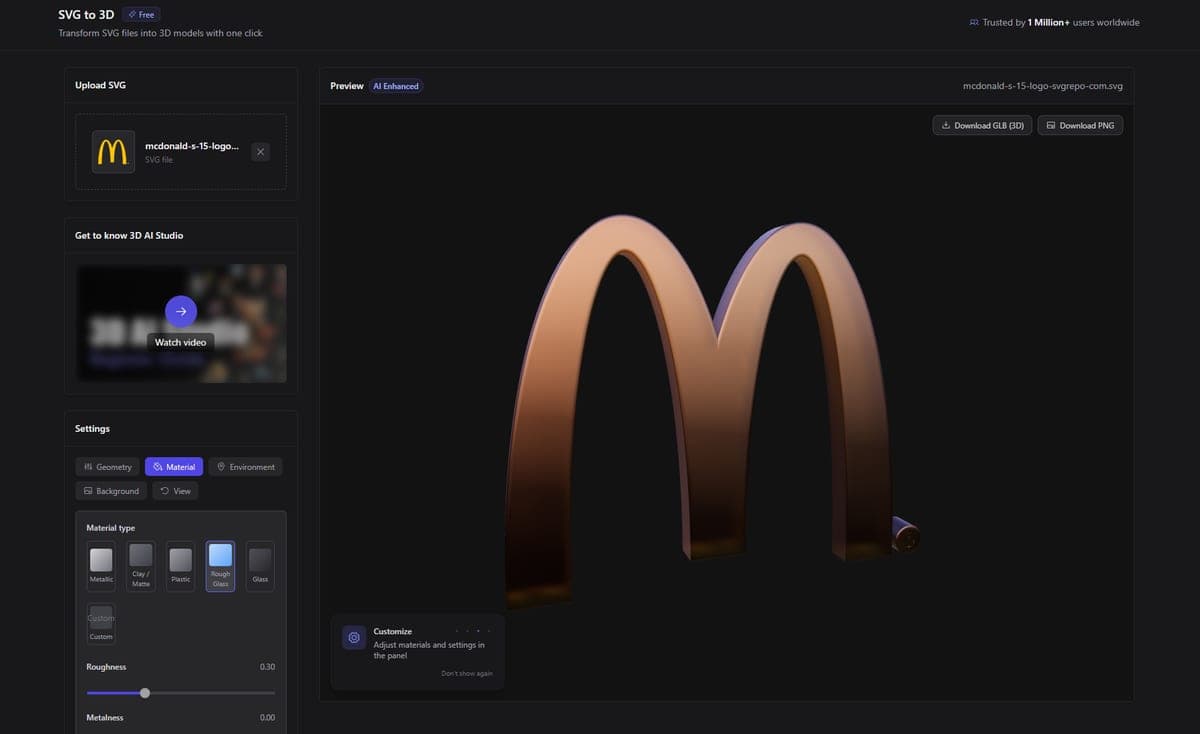
Settings
The settings panel has five tabs. Here's what each one does:
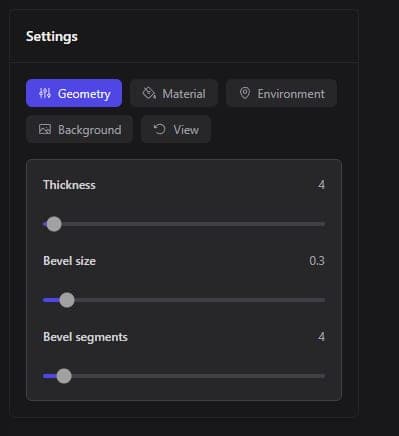
Geometry
Controls the shape of the extrusion.
- Thickness (1-250, default 4) - How deep the extrusion goes. Higher values give a chunkier, more solid look.
- Bevel size (0-5, default 0.3) - Rounds off the edges. A small bevel adds realism; zero gives you sharp edges.
- Bevel segments (1-64, default 4) - How smooth the bevel curve is. More segments = smoother rounding.
Material
Pick a look or build your own.
- Presets - Choose from Metallic, Clay/Matte, Plastic, Rough Glass, Glass, or Custom
- Roughness - How shiny or matte the surface is
- Metalness - Metal vs non-metal appearance
- Clearcoat - Adds a glossy clear layer on top (like car paint)
- Transmission - Makes the material see-through (for glass effects)
- Override SVG colors - Replace the original SVG colors with a single material color
Environment
Sets the lighting around your model.
- HDRI presets - City, Dawn, Forest, Lobby, or Studio lighting
- Custom color - Use a solid color background for lighting instead of an HDRI
- Intensity - How bright the environment lighting is
- Bloom - Adds a soft glow effect around bright areas
Background
Pick a background color for the viewport using the color picker.
View
- Auto-rotate - Slowly spins the model so you can see all sides
- Rotation speed - How fast it spins
Material Presets
Not sure which material to use? Here's a quick guide:
| Preset | Best for |
|---|---|
| Metallic | Logos, badges, premium brand assets |
| Clay/Matte | Clean mockups, 3D printing previews |
| Plastic | Icons, playful designs, product viz |
| Rough Glass | Frosted or etched effects |
| Glass | Transparent overlays, decorative pieces |
| Custom | Full control over every slider |
Export Options
Both export options run entirely in your browser - nothing gets uploaded.
- GLB - A standard 3D file format. Works in Blender, Unity, Unreal, web viewers, and AR apps. This is your go-to if you need the actual 3D model.
- PNG - A transparent-background screenshot of the current view. Great for slide decks, social media, and marketing materials where you just need a good-looking render.
Tips for Best Results
Which SVGs work best
- Simple, clean paths with solid fills - logos, icons, and text work great
- SVGs with well-defined shapes and clear outlines extrude cleanly
- Bold, thick designs look better in 3D than very thin, delicate linework
Getting cleaner output
- Start with a small thickness value and increase gradually
- Add a slight bevel (0.2-0.5) to make edges catch light naturally
- If your SVG has many tiny details, simplify it in a vector editor first
- Try different HDRI presets - lighting makes a big difference in how materials read
Common issues
- Very complex SVGs with hundreds of paths may render slowly - simplify them if you can
- Overlapping paths can create odd geometry - flatten or merge paths in your vector editor before uploading
- If colors look wrong, check whether "Override SVG colors" is turned on in the Material tab
Use Cases
- Logos for 3D websites - Export a GLB of your logo and embed it in a Three.js or model-viewer scene
- Icons for games - Extrude UI icons or item symbols for use in Unity or Unreal
- Brand assets for AR - Turn brand marks into AR-ready GLB files for product packaging or experiences
- Social media content - Export a styled PNG render of your logo for posts and thumbnails
- 3D printing - Extrude a design, export the GLB, and import it into your slicer
What's Next
Ready to try it? Head to the SVG to 3D Converter and drop in an SVG. If you want to generate 3D models from images instead, check out the Image to 3D guide. For text-based generation, see Text to 3D.
Frequently Asked Questions
Yes, completely free with no signup, no credits, and no limits. The SVG to 3D tool in 3D AI Studio runs entirely in your browser, so nothing gets uploaded to a server. You can convert as many SVG files as you want and export GLB or PNG files without any account.
Absolutely. Logos are one of the best use cases for the SVG to 3D tool in 3D AI Studio. Just export your logo as an SVG from Illustrator, Figma, or any vector editor, then upload it. The tool extrudes it into 3D with customizable depth, materials, and lighting. Export as GLB for web 3D viewers or AR experiences.
GLB gives you an actual 3D model file you can import into Blender, Unity, Unreal, or any web-based 3D viewer. PNG gives you a transparent screenshot of the current view, which is great for presentations, social media, or mockups. Both exports in 3D AI Studio's SVG to 3D tool are free and run locally in your browser.
Complex SVGs with overlapping paths or very thin strokes can produce odd geometry. Before uploading to 3D AI Studio, try flattening or merging overlapping shapes in your vector editor. Also check if "Override SVG colors" is accidentally enabled in the Material tab, which replaces your original colors with a single uniform color.
Yes, but you'll need to convert the GLB to STL first. Export the GLB from 3D AI Studio's SVG to 3D tool, then import it into Blender or an online converter to save as STL. For best printing results, use a bold font or thick-stroked design, increase the extrusion depth to at least 5, and add a slight bevel so edges aren't razor-sharp.
The max file size is 5MB. In practice, most logos and icons in 3D AI Studio's SVG to 3D tool are well under this. However, very complex SVGs with hundreds of tiny paths (like detailed illustrations) may render slowly or produce messy geometry. For best results, keep your SVG simple with clean, well-defined shapes and merge unnecessary paths before uploading.
Text to 3D
Generate a 3D model from a text prompt: write a short description, pick a model and download a textured mesh. Prompt tips, model comparison and settings.
3D Text
Turn any text into a 3D model for free. Choose from 16 fonts, customize depth, materials, and lighting, and export as GLB or PNG. No signup needed.