The Texture Painter Workspace
A tour of the Texture Painter screen: the top bar, tool rail, options bar, 3D view and view bar, 2D view, Layers, Generate with AI, save status, credits, texture size, view settings and help.
This page explains every part of the Texture Painter screen, so you always know where to look. The numbers in the picture match the list below it.
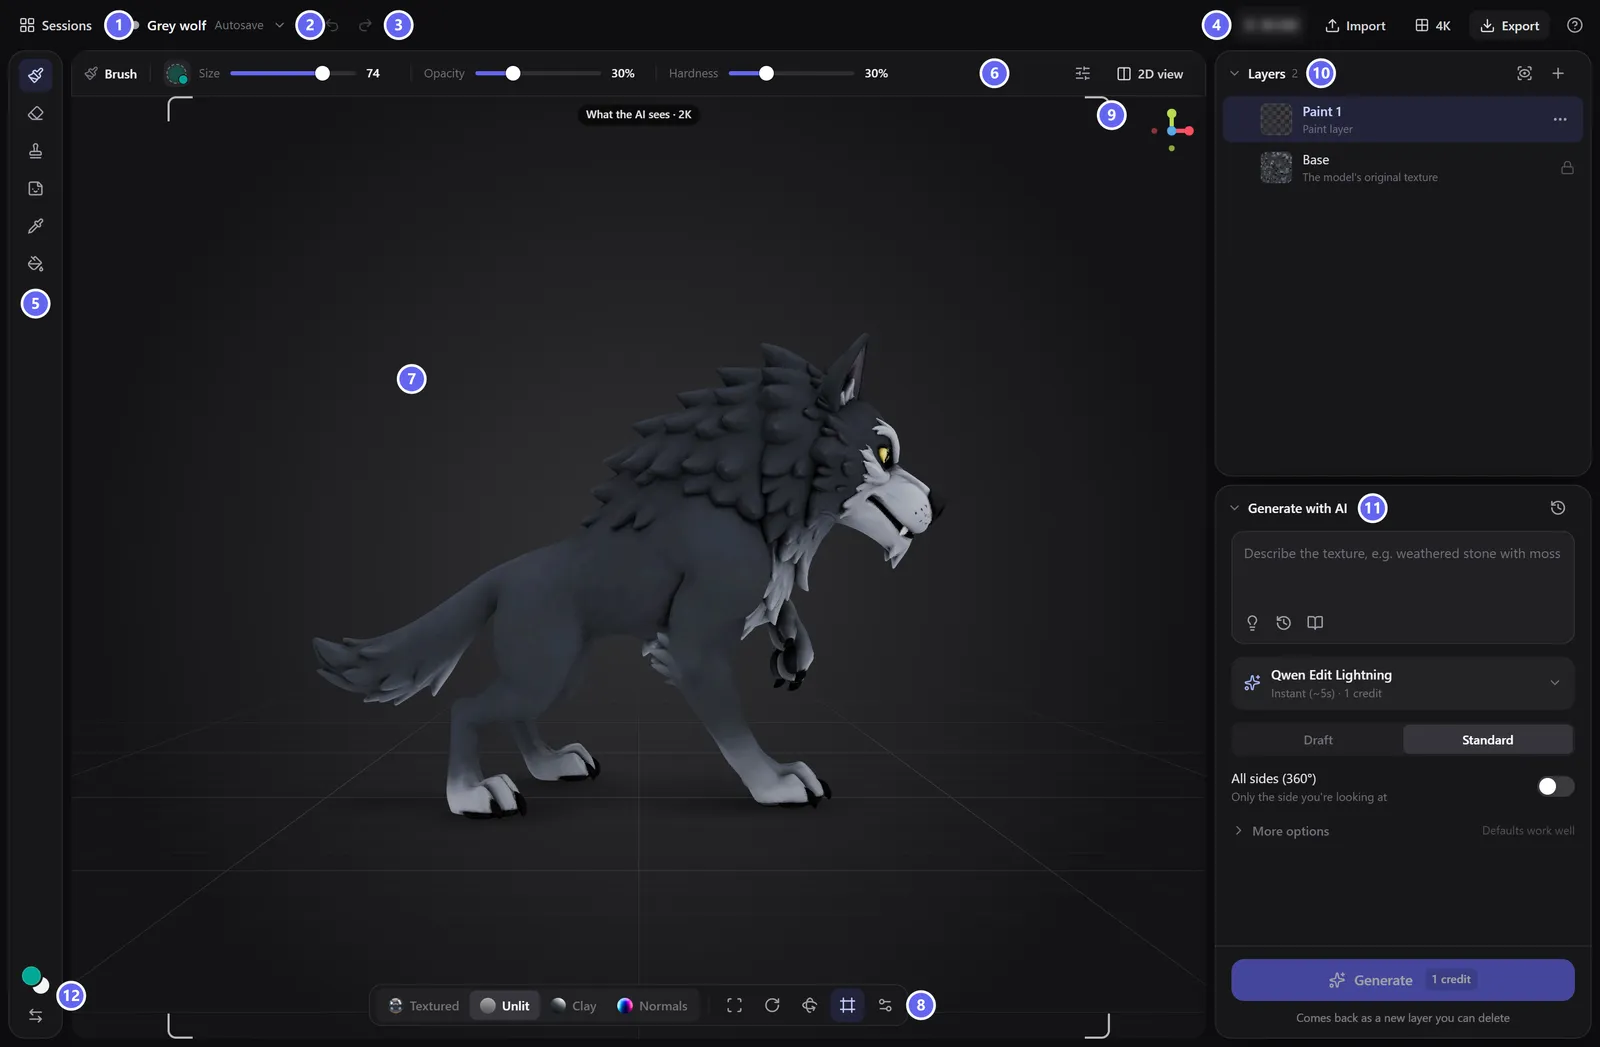
- Sessions opens the start screen: your sessions, samples and ways to start something new.
- Session name and save status. The dot and word show whether your work is saved. Click it for the session menu.
- Undo and Redo.
- Credits, Import, Texture size, Export and Help.
- Tool rail: Brush, Eraser, Image brush, Decal, Eyedropper and Fill.
- Options bar: the settings of the selected tool, like Size, Opacity and Hardness.
- 3D view: where you paint and look at the model. The corner marks show What the AI sees.
- View bar: shading, framing, turntable, model rotation, the AI capture frame and view settings.
- 2D view: the selected layer on the model, the texture map, or what the AI sees.
- Layers: everything you paint or generate, one layer per row.
- Generate with AI: describe a change and let the AI paint it.
- Colours: the main colour with the second colour behind it, and Swap colours below.
Top bar
| Control | What it does |
|---|---|
| Sessions | Opens the start screen with all your sessions. See Saving and sessions. |
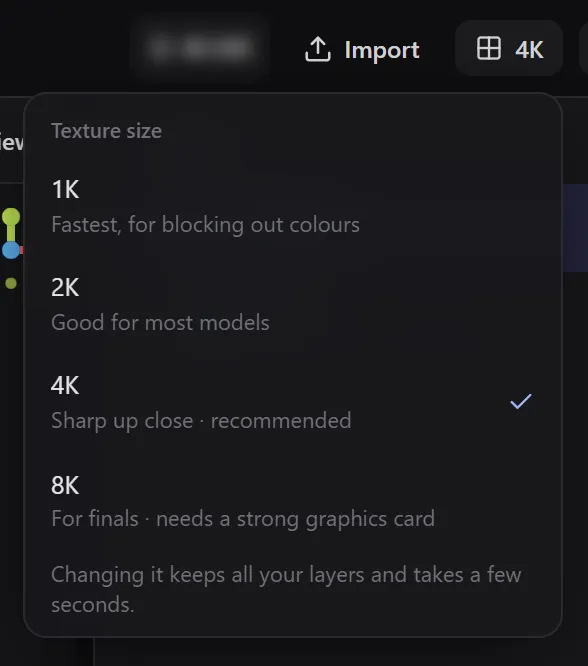
| Session name | Click to rename the session, see the save status, open Version history or Time-lapse video, or Save now. |
| Undo / Redo | Step back and forward. Ctrl+Z and Ctrl+Shift+Z (Cmd on Mac). |
| Credits | Your credit balance. Click it to get more credits. |
| Import | Opens a GLB, glTF, FBX or OBJ file. You can also drop a file on the 3D view. |
| Texture size (for example 4K) | How sharp your paint can be. See below. |
| Export | Download the model or its textures. See Export. |
| ? (Help) | Tutorial, tour, shortcuts, controls, what's new and these docs. |
Save status
The word next to the session name tells you where your work is:
| Status | Meaning |
|---|---|
| Autosave | Nothing to save yet. Your work will save on its own. |
| Edited | Saving when you pause. |
| Saving… | Your latest changes are being saved. |
| Saved | Everything is in the cloud (paid plans). |
| On device | Saved in this browser (free plan, or when cloud saving is paused). |
| Offline | Safe in this browser; syncs when you are back online. |
| Not synced | Safe in this browser; the painter retries shortly. |
| Read-only | Someone else is editing this session. Your changes stay in this browser. |
Texture size
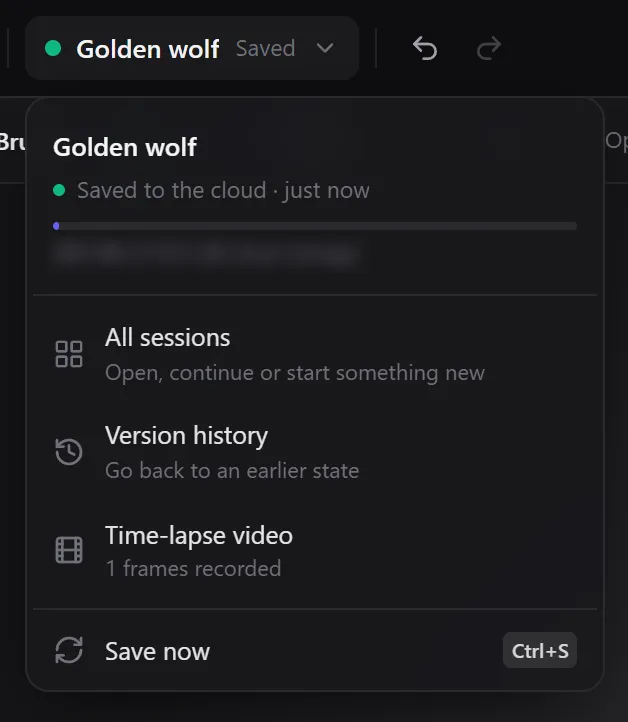
The texture size button sets how sharp your paint can be. Changing it keeps all your layers and takes a few seconds.
| Size | Best for |
|---|---|
| 1K | Fastest, for blocking out colours |
| 2K | Good for most models |
| 4K | Sharp up close. The default and recommended size. |
| 8K | Finished work. Needs a strong graphics card. |
The export size is separate: you can paint at 4K and still download at 8K or 12K. See Export.
Tool rail and options bar
The tool rail on the left holds the six tools. The options bar above the 3D view changes with the tool: for the brush it shows Size, Opacity and Hardness, and the More brush settings button for hidden areas and edge fade.


Every tool is explained in Painting tools.
The 3D view and the view bar
You paint and look at the model in the 3D view. Drag the model to paint, drag the background to turn it, and scroll to zoom. All the ways to move are in Moving around the model.
The corner marks show the square the AI receives when you generate, labelled What the AI sees · 2K. The small coloured axes at the top right show which way the model faces.
The view bar at the bottom of the 3D view holds:
| Control | What it does |
|---|---|
| Parts | For models with several parts: paint, hide or isolate one part. Shown only when the model has more than one part. |
| Textured / Unlit / Clay / Normals | Shading. Unlit (the default) shows flat colours, best for painting. Z switches between them. |
| Frame model | Fits the whole model in view (Shift+F). |
| Turntable | Slowly spins the model. Any navigation stops it. |
| Rotate the model | Turns the model in 90° steps around X, Y or Z. Use it when a model lies down or faces away. Your paint turns with it. |
| AI capture frame | Shows or hides the corner marks of what the AI sees. On by default. |
| View settings | Lighting, material and navigation settings. |

Shading modes
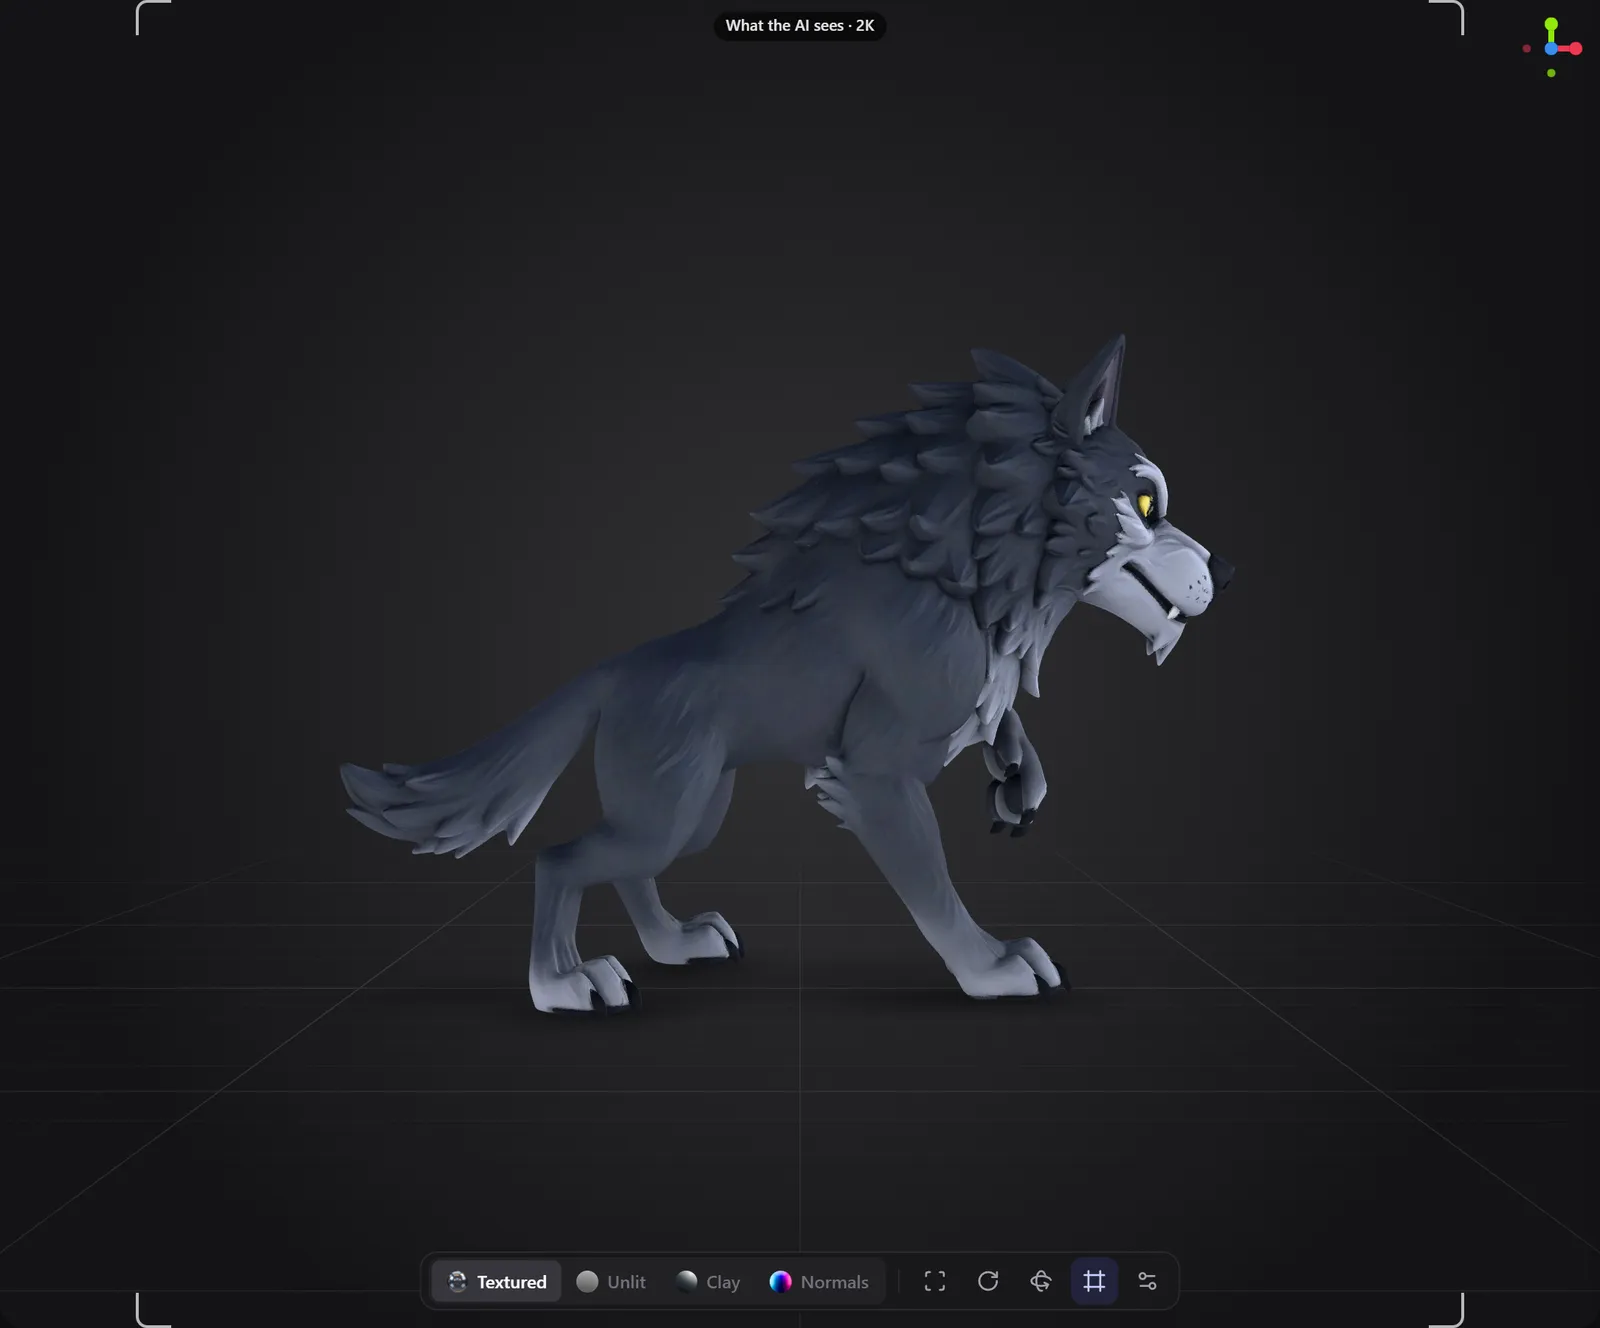
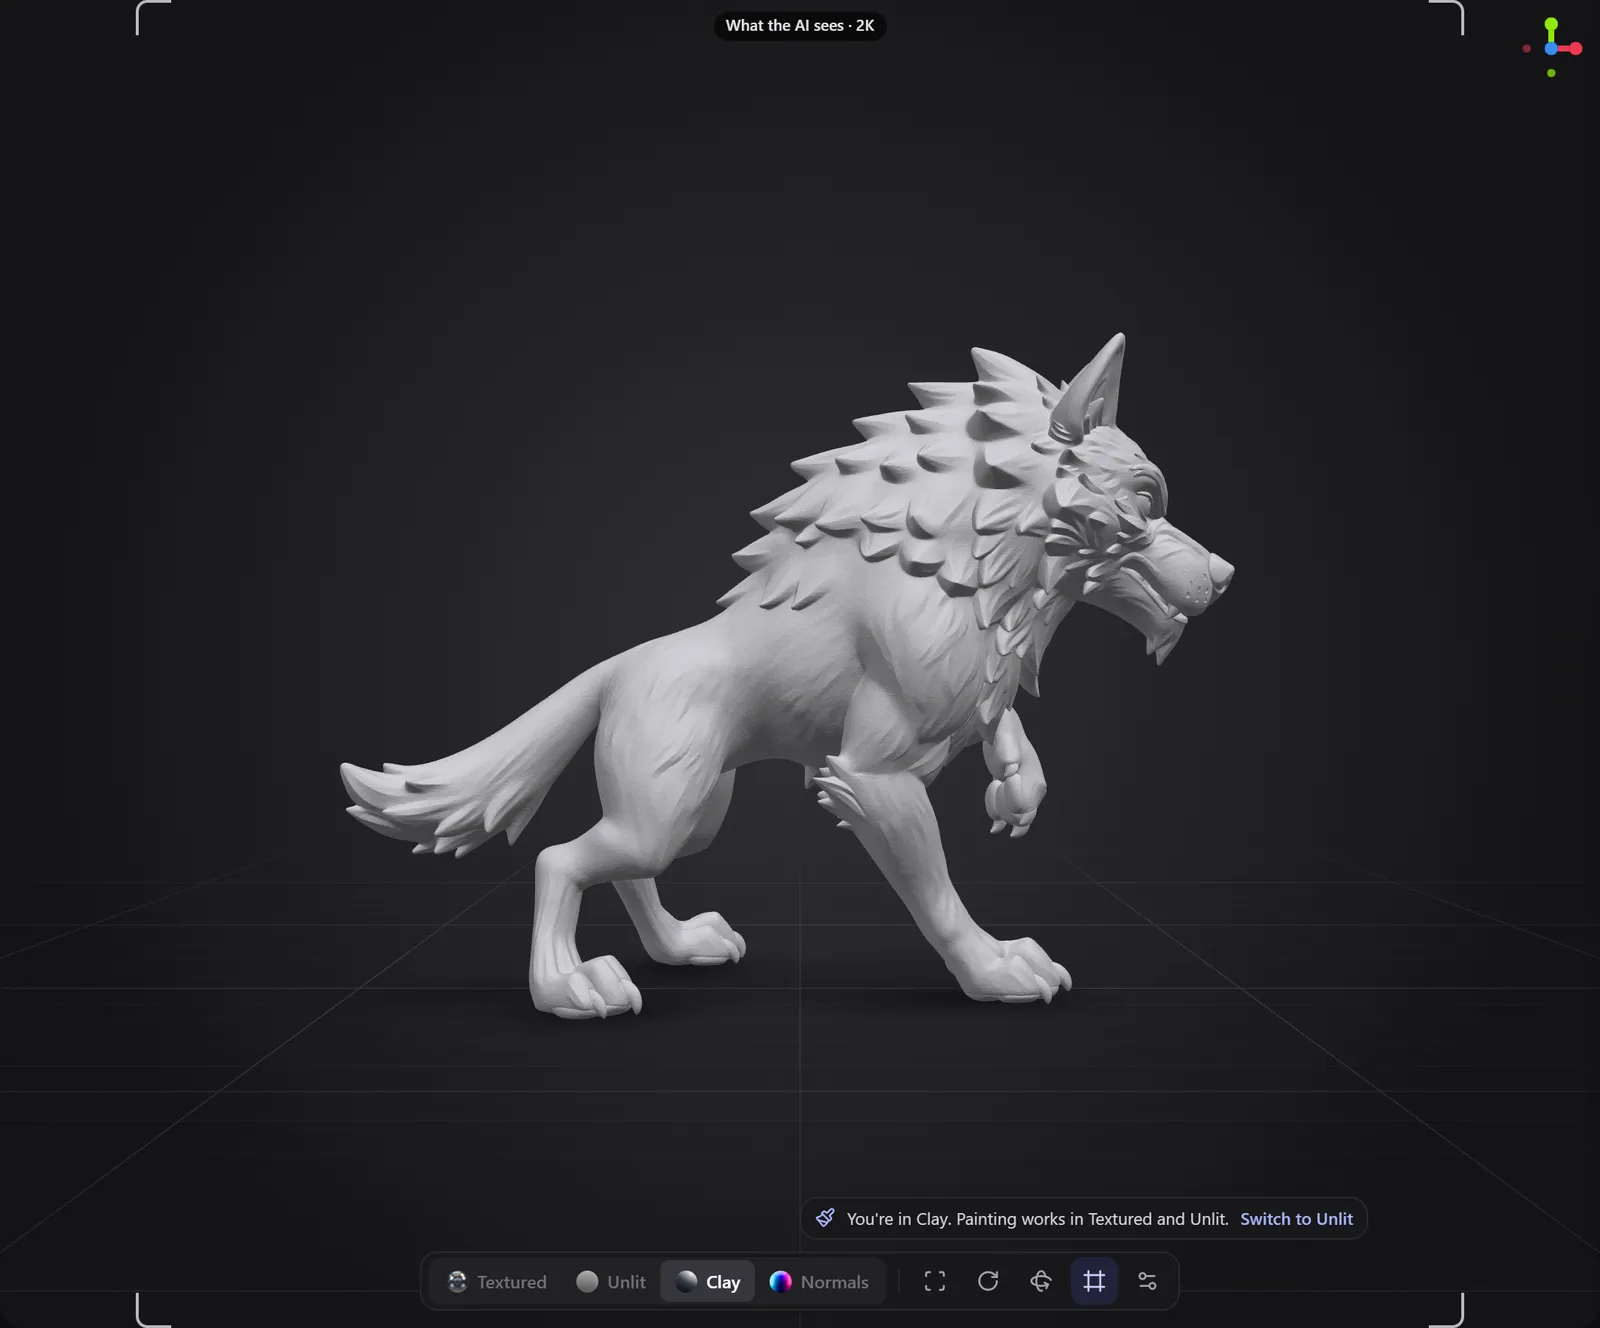
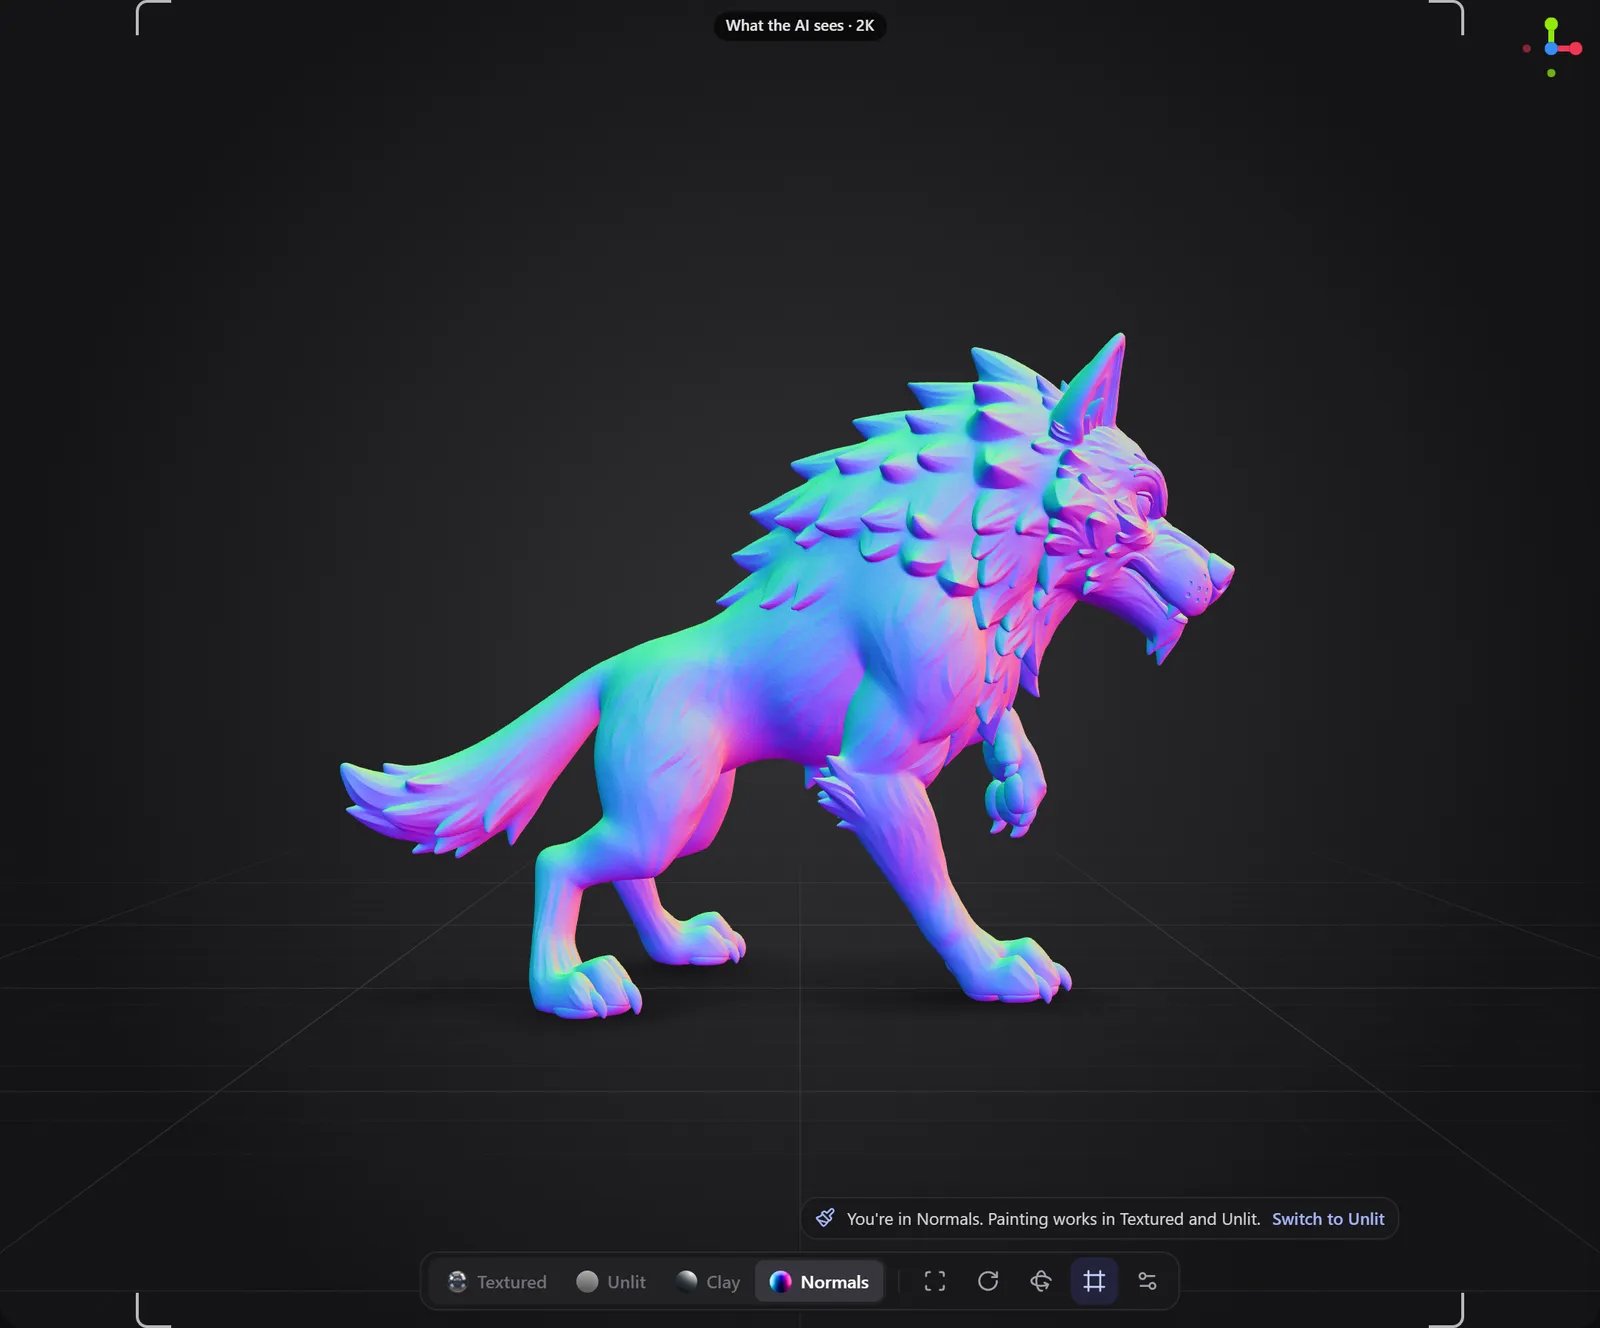
You can only paint in Textured and Unlit. In Clay or Normals, the 3D view shows a note with a Switch to Unlit link, and dragging the model turns the view instead.
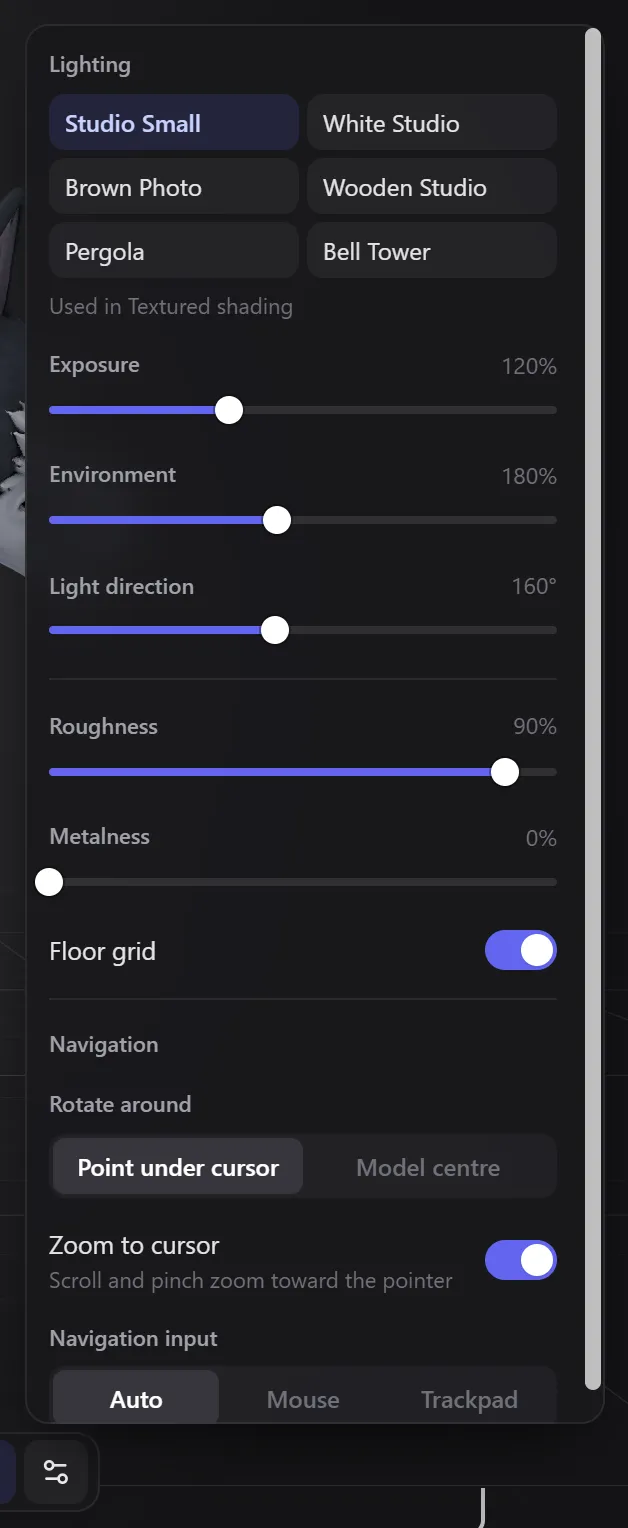
View settings
The gear icon at the right end of the view bar opens View settings.
| Setting | Options | Default |
|---|---|---|
| Lighting (used in Textured shading) | Studio Small, White Studio, Brown Photo, Wooden Studio, Pergola, Bell Tower | Studio Small |
| Exposure | 20 to 300% | 120% |
| Environment | 0 to 400% | 180% |
| Light direction | 0 to 359° (or Shift + right-drag in the 3D view) | 160° |
| Roughness | 0 to 100% | 90% |
| Metalness | 0 to 100% | 0% |
| Floor grid | On / off | On |
| Rotate around | Point under cursor, Model centre | Point under cursor |
| Zoom to cursor | On / off | On |
| Navigation input | Auto, Mouse, Trackpad | Auto |
The navigation settings are explained in Moving around the model.
The right side: 2D view, Layers and Generate with AI
- 2D view shows the selected layer on the model, the flat texture map, or what the AI sees. Open or close it with the 2D view button in the options bar or
\. See The 2D view. - Layers lists everything you paint or generate. See Layers.
- Generate with AI turns a description into a new AI layer. See AI painting.
Fold Layers or Generate with AI with the arrow next to its title. Drag the dividers between panels to resize them; double-click a divider to reset it.
Help
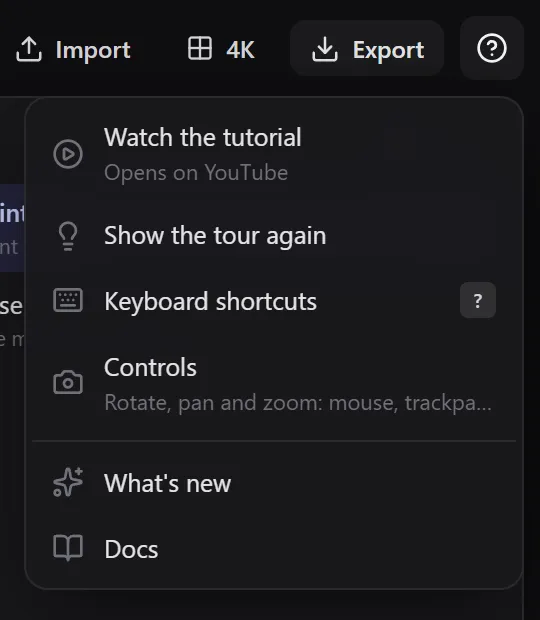
The ? at the top right opens Help:
| Item | What it does |
|---|---|
| Watch the tutorial | Opens the video tutorial on YouTube. |
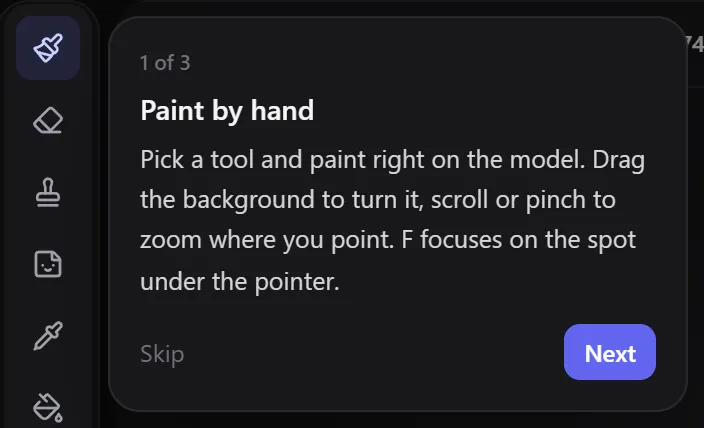
| Show the tour again | Replays the three-step tour. |
| Keyboard shortcuts | Opens the shortcut sheet (?). |
| Controls | Rotate, pan and zoom with a mouse, trackpad, touch or pen. |
| What's new | Recent updates and fixes. |
| Docs | Opens these docs. |
Related
Frequently Asked Questions
Unlit, the default. It shows your colours flat, without lighting, so what you paint is what you get. Switch to Textured to check how the model looks with light.
How much detail your paint can hold. Higher sizes look sharper up close but need more from your graphics card. You can change it any time without losing layers.
Open Rotate the model in the view bar and turn it in 90° steps around X, Y or Z until it stands upright. Your paint turns with the model.
Quick start
Paint your first 3D model in about five minutes: open the Texture Painter, load a model, paint with the brush, let AI repaint it, reveal the result and download a GLB.
Moving around
How to rotate, zoom, pan and focus in the Texture Painter with a mouse, trackpad, touch screen or pen, how to snap to 90° views, turn the lighting, and get close to small details.