Painting Tools
Every painting tool in the Texture Painter: brush, eraser, image brush, decals, eyedropper and fill, plus colours and palettes, brush size, opacity and hardness, Paint hidden areas and Edge fade.
This page covers every painting tool and setting in the Texture Painter. You will learn which tool to use when, how to set up the brush, and how to paint fine detail cleanly.
The tools
| Tool | Key | What it does |
|---|---|---|
| Brush | B | Paint by hand on the model |
| Eraser | E | Remove paint from the active layer. Press E again to go back to the brush. |
| Image brush | S | Paint with an image or pattern |
| Decal | D | Place a sticker, logo or label |
| Eyedropper | I | Pick a colour from the model |
| Fill | G | Fill an area with one colour |

Tools paint on the selected layer. If the selected layer can't be painted, the 3D view tells you why and offers a fix: Paint layer for the base texture or a group, Show for a hidden layer, Unlock for a locked layer.
Brush
Drag on the model to paint. Before you paint, a ring on the surface shows exactly how big the brush is, and a faint preview shows the colour.
Size, opacity and hardness
| Setting | Range | Default | What it does |
|---|---|---|---|
| Size | 1 to 100 | 74 | How big the brush is on the model. The scale is relative, not pixels. |
| Opacity | 0 to 100% | 30% | How strongly one stroke covers. Paint over the same spot again to build up colour. |
| Hardness | 0 to 100% | 30% | Soft edges at low values, crisp edges at high values. |

Change settings without leaving the model:
[and]make the brush smaller and bigger.Ctrl+ right-drag on the model (Cmd+ right-drag on a Mac): drag left and right for size, up and down for hardness.
While a setting changes, a preview card at the top left of the 3D view shows a sample stroke with the current Size, Opacity and Hardness, and the ring on the model shows the new size.
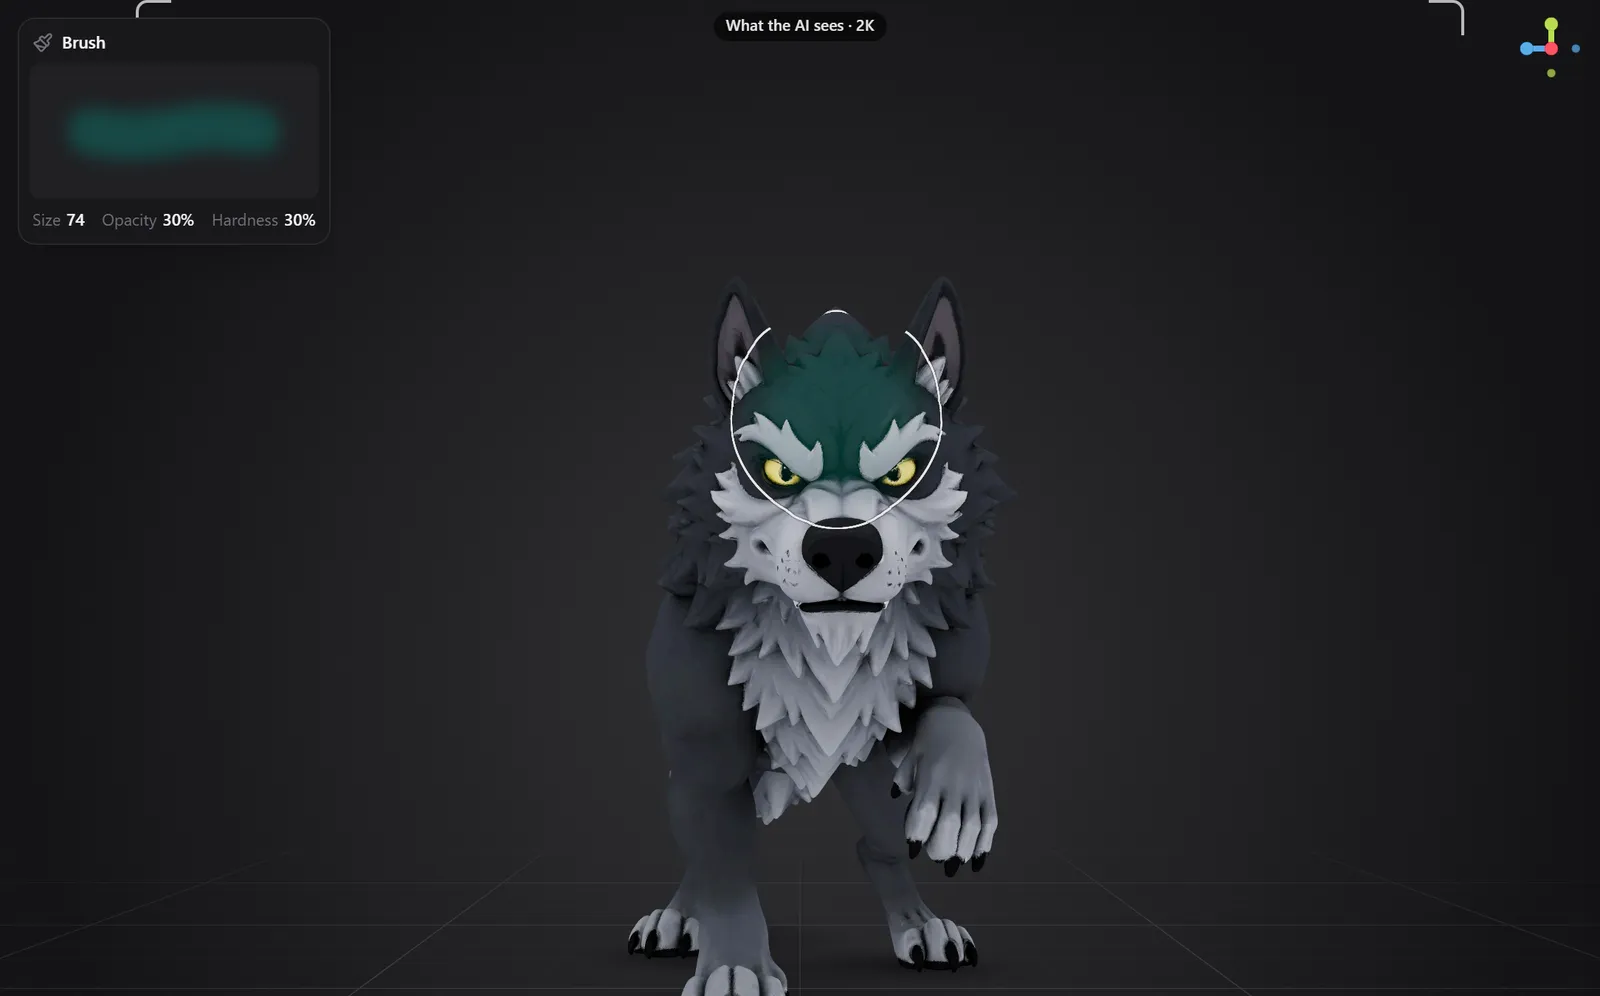
Why is the default opacity 30%? Lower opacity lets you build up colour gradually and blend edges naturally. For flat, solid colour in one stroke, raise Opacity to 100%.
Paint hidden areas and Edge fade
More brush settings (the sliders icon at the right of the options bar) holds two settings that control where the brush reaches.
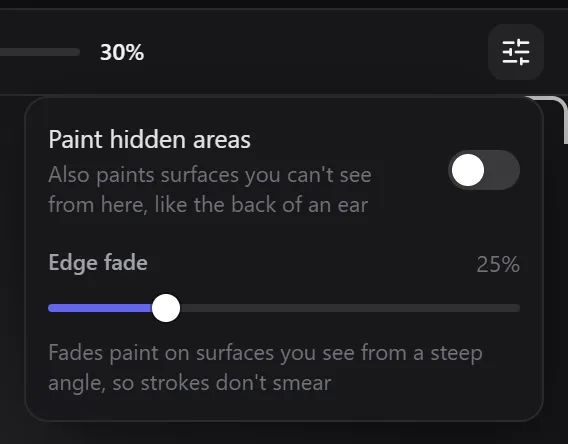
Paint hidden areas (off by default). Normally the brush only paints what you can see from where you are looking, which keeps hidden surfaces clean: the back of an ear, the inside of a fold, the other side of a thin part. Turn it on when you want the brush to also paint surfaces you can't see from here, for example to colour both sides of an ear in one stroke. While it is on, the brush ring is dashed.
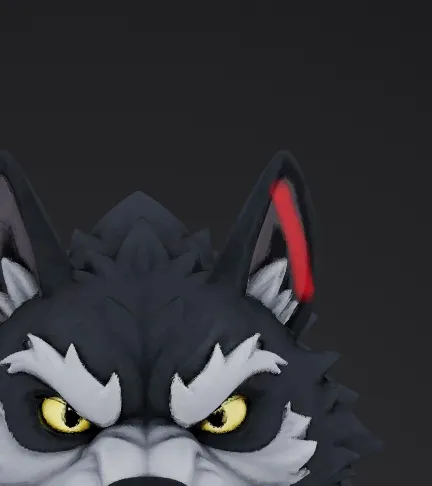
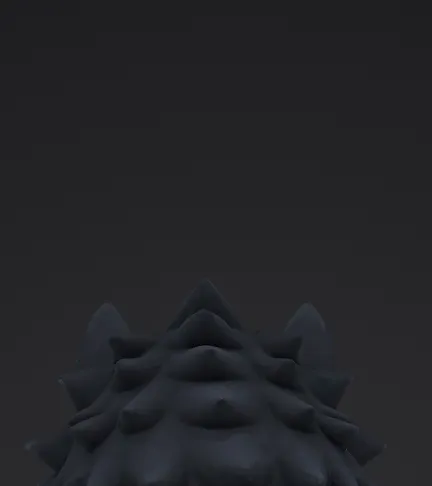
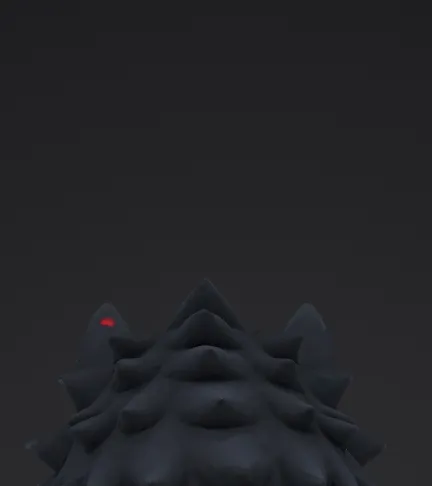
Edge fade (default 25%). Surfaces you see from a steep angle, near the outline of the model, get less paint the steeper they turn away from you. This stops strokes from smearing into long streaks where the surface curves away. Set it to 0% to paint right up to the outline; raise it for softer falloff. Edge fade is unavailable while Paint hidden areas is on.
Both settings are remembered for your next visit.
Painting fine detail
- Zoom in on the detail: point at it and press
F, then scroll. See Moving around the model. - Make the brush small with
[, and raise Hardness for crisp edges. - Turn the view so you look straight at the surface. Paint on surfaces that face you gives the cleanest result.
- Paint on its own layer, so you can adjust or erase the detail without touching the rest.
Eraser
The eraser removes paint from the selected layer only, so you can clean up one layer without touching the others. Its options bar shows Strength instead of Opacity. On an AI layer, the eraser hides the AI texture again (see AI painting).
Colours and palettes
Click the colour chip at the bottom of the tool rail, or the colour dot in the options bar, to open the colour panel:
- A colour picker and a # field for hex values.
- An eyedropper, Pick from the model (
I). - Palettes. The default palette is Basics. Built-in palettes: Basics, Sunset, Ocean, Forest, Pastel, Neon, Earth Tones, Monochrome, Candy, Autumn and Lavender Dreams.
- Your own palettes, made from scratch (Empty), from an image (Image) or from the colours of the model (Model). Click an empty slot to add the current colour;
Alt-click a swatch to empty its slot; double-click a palette name to rename it. - Recent: the last colours you used.
You always have two colours: the main colour and a second one. Swap colours (below the chip, or X) switches them.
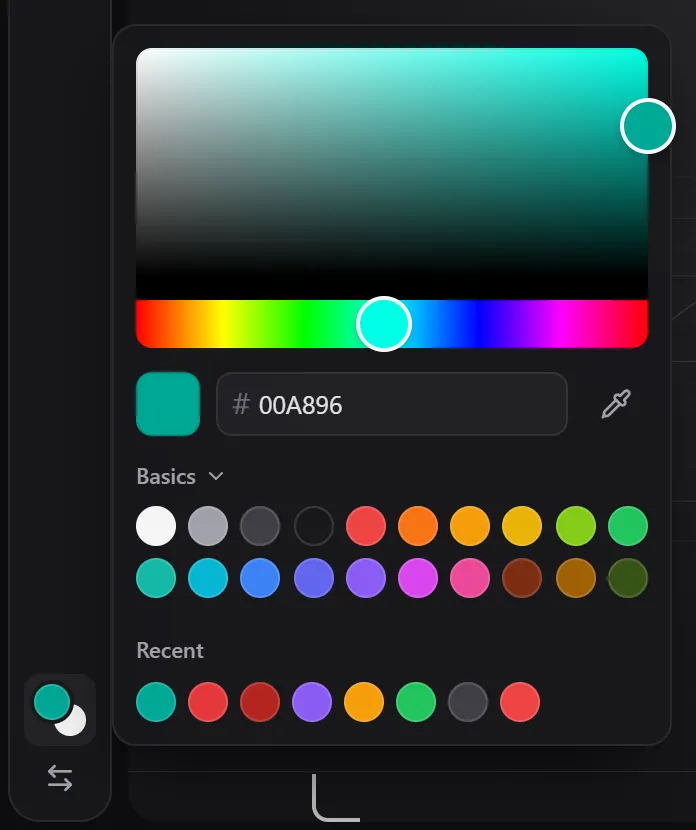
Image brush
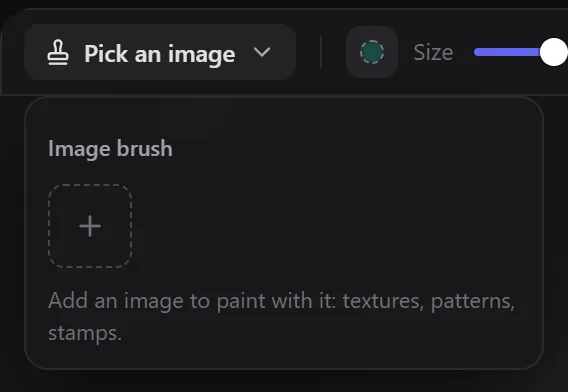
The image brush paints with a picture instead of a flat colour: textures, patterns or stamps. Click Pick an image in the options bar, then add your own image with the + tile (PNG or JPG). Transparent PNGs stamp their shape. Scale (5 to 100%, default 50%) and Rotation (0 to 360°, default 180°) replace Opacity and Hardness.
Decals
A decal places one image on a spot of the model, like a sticker, logo or label. Each decal is its own layer.
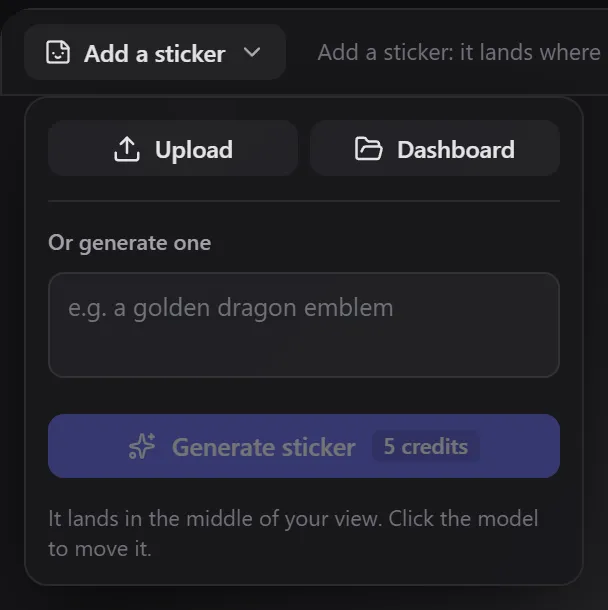
- Pick Decal (
D) and click Add a sticker in the options bar. - Choose Upload for your own image, Dashboard for an image from your dashboard, or describe a sticker under Or generate one and click Generate sticker (5 credits, paid plans).
- The decal lands in the middle of your view. Click the model to move it there.
- Adjust Size and Rotation in the options bar, or turn on Move handle to drag it around on the model.

Eyedropper
Click the model to pick a colour. The eyedropper picks the colour exactly as you see it on screen, then switches back to the brush.

Fill
Click the model to fill an area of the selected layer with one colour. Use it for large base colours. For the whole model at once, add a Solid colour layer instead (see Layers).

Related
- AI painting: let the AI paint large areas, then refine with the brush.
- Layers: keep details on their own layers.
- Keyboard shortcuts and gestures
Frequently Asked Questions
Check the selected layer: the base texture and groups can't be painted, and hidden or locked layers are protected. The 3D view shows a button to fix it. Also check the shading: you can only paint in Textured and Unlit.
The default Opacity is 30%, so one stroke only covers partly. Paint over the spot again, or raise Opacity.
So you only paint what you see. With it off, strokes never leak onto the back of thin parts or into hidden folds.
Use a decal: upload the logo as an image and place it on the model. A transparent PNG keeps the shape clean.
Moving around
How to rotate, zoom, pan and focus in the Texture Painter with a mouse, trackpad, touch screen or pen, how to snap to 90° views, turn the lighting, and get close to small details.
AI painting
How to repaint a 3D model with AI in the Texture Painter: writing prompts, choosing a model and quality, what the AI sees, all-sides (360°) generation, reference images, revealing AI layers, upscaling and credits.