Texture Painter Quick Start
Paint your first 3D model in about five minutes: open the Texture Painter, load a model, paint with the brush, let AI repaint it, reveal the result and download a GLB.
This page takes you from an empty screen to a painted, downloaded 3D model in about five minutes. You will paint by hand once, let the AI paint once, and export. Every step has a picture of what you should see.
What you need
- A free 3D AI Studio account.
- A computer with a modern browser (Chrome, Edge or Firefox) with graphics acceleration on.
- For the AI step: a paid plan and at least 1 credit. Skip that step if you only want to paint by hand.
Paint your first model
Step 1: Open the Texture Painter
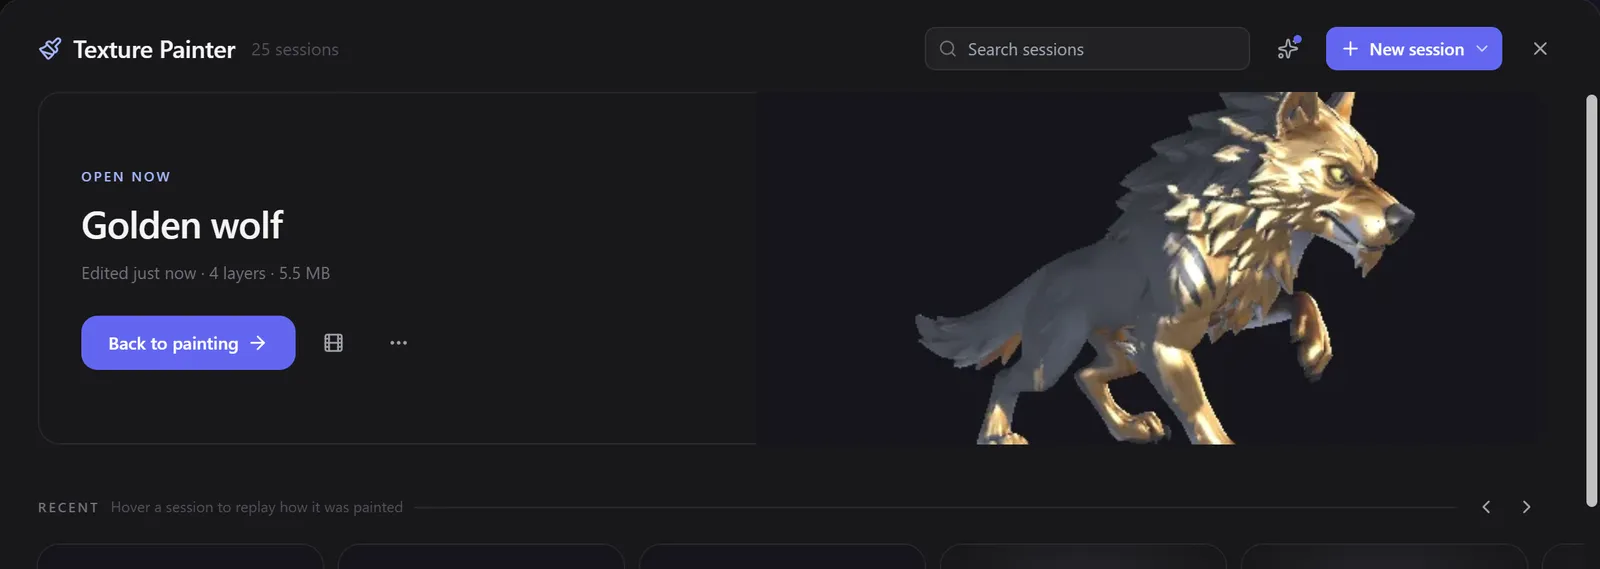
Go to 3daistudio.com/TexturePainter/app and sign in. The start screen opens on top of the painter. It lists your sessions and the ways to start something new.
Step 2: Load a model
Pick one of these:
| Option | When to use it |
|---|---|
| Upload a model | Your own GLB, glTF, FBX or OBJ file. You can also drop the file anywhere in the window. |
| From your dashboard | A model you made in 3D AI Studio. |
| A sample, such as Wolf | Learn the painter without a model of your own. |
| Continue | Pick up a saved session where you left off. |
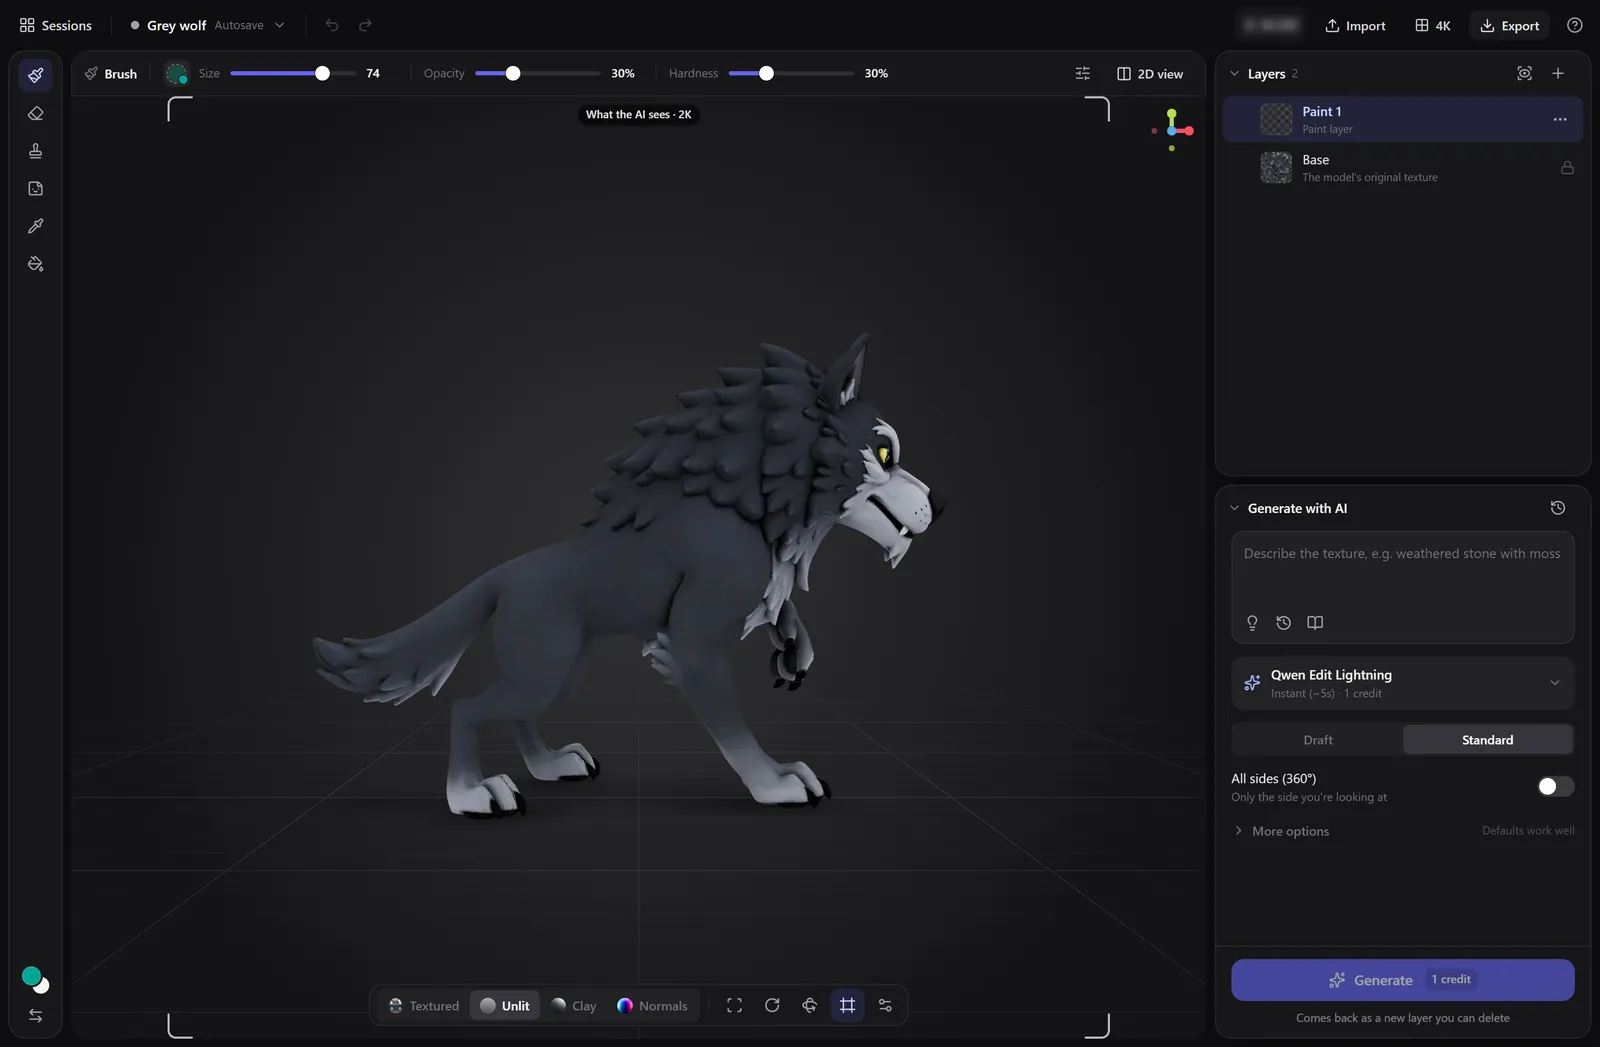
The model opens in the 3D view. The 2D view on the right shows the selected layer, and the Layers and Generate with AI panels sit on the far right.
First time? A short tour shows you the three basics. Skip it any time, and bring it back later from Help (the ? at the top right) with Show the tour again.
Step 3: Paint with the brush
The Brush is already selected. Drag on the model to paint. A few moves you need right away:
- Turn the model: drag the background (anywhere next to the model).
- Zoom: scroll. The view zooms toward the pointer.
- Undo:
Ctrl+Z(Cmd+Zon Mac).
Change the colour with the colour chip at the bottom of the tool rail, and the brush with Size, Opacity and Hardness in the options bar.
Step 4: Let the AI paint
Turn the model so the side you want to change faces you. The AI only sees what is inside the corner marks labelled What the AI sees. Then:
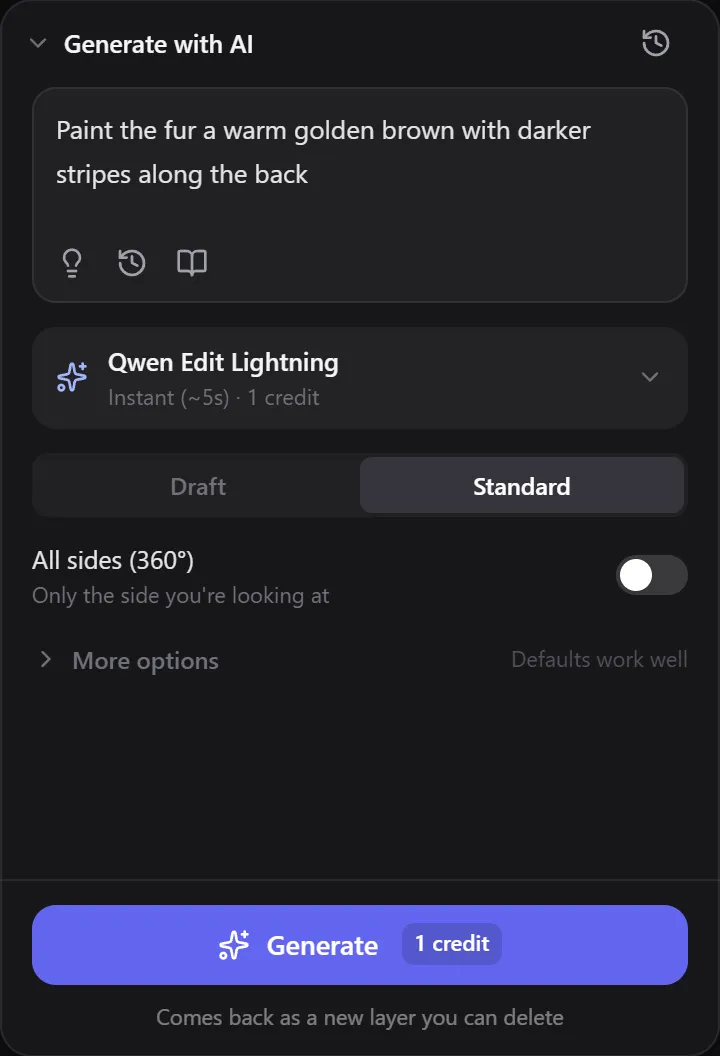
- Type what you want in Generate with AI, for example Paint the fur a warm golden brown with darker stripes along the back.
- Keep the default model, Qwen Edit Lightning (about 5 seconds, 1 credit), for a quick first try.
- Click Generate.
Step 5: Reveal the AI result
The result arrives as a new layer called Projection 1, marked AI layer. It starts hidden, so the model does not change yet. You decide where it shows:
- Paint to reveal: with the AI layer selected, the brush brings the AI texture in wherever you paint. The eraser hides it again.
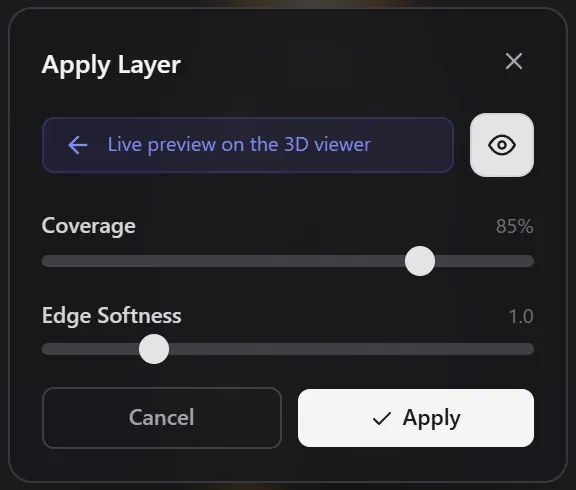
- Reveal everything: open the layer's ⋯ menu, choose Apply with smooth edges, then Apply.
Step 6: Download the model
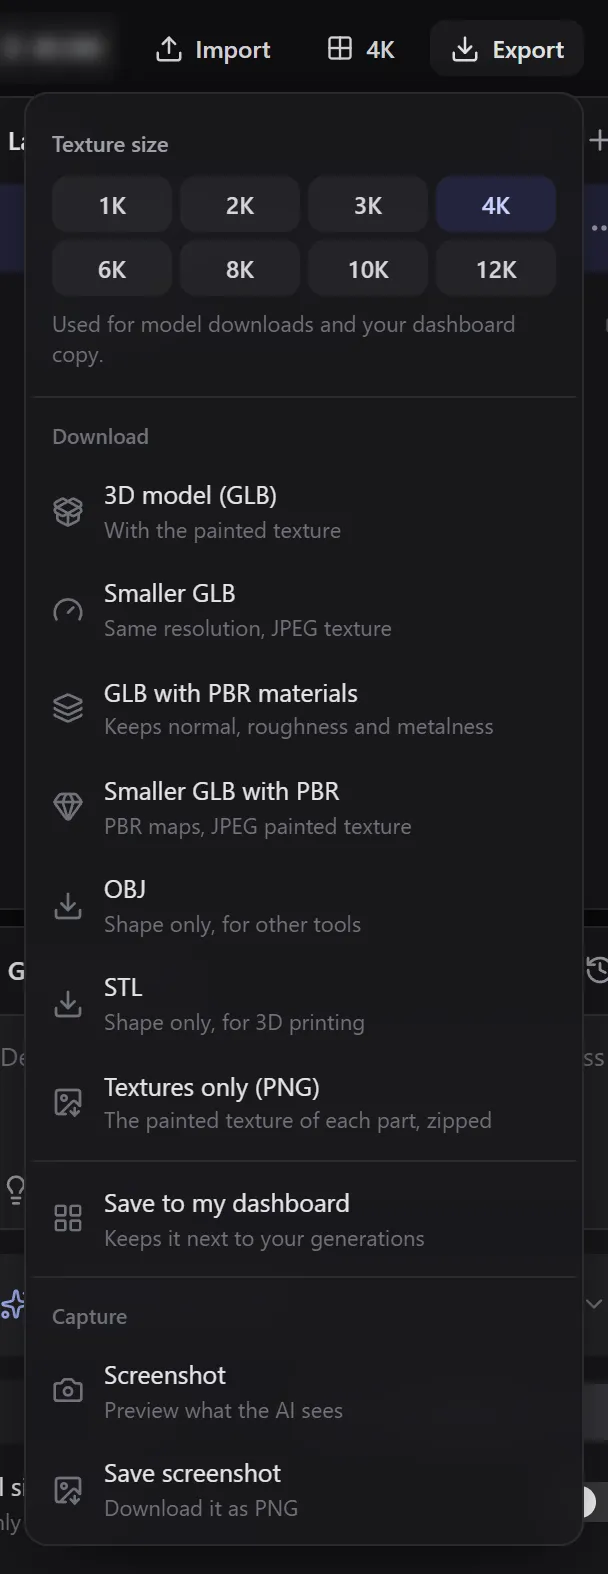
Click Export at the top right and choose 3D model (GLB). The file downloads with your painted texture. GLB with PBR materials also keeps normal, roughness and metalness maps.
Your work saves itself
You never need to press save. The dot and word next to the session name show what is happening: Edited, then Saving…, then Saved (cloud, on paid plans) or On device (this browser). Details are in Saving and sessions.
Next steps
- Learn every part of the screen in The workspace.
- Get comfortable moving around in Moving around the model.
- Write better prompts with AI painting.
Related
Frequently Asked Questions
A first AI pass takes seconds to a few minutes, depending on the model you pick. Hand-painted detail takes as long as you like, and everything saves on its own.
GLB, glTF, FBX and OBJ. The model needs UV coordinates; if it has none, run UV Unfold first.
Only for AI painting and AI stickers. Hand painting, layers, decals from your own images and all exports are free.
New AI layers start hidden on purpose, so you choose where the result shows. Paint over the model with the AI layer selected, or choose Apply with smooth edges in the layer menu.
Overview
The Texture Painter lets you paint textures right on a 3D model in your browser, by hand or with AI. What it can do, what you need, what each plan includes, and where to find every guide.
The workspace
A tour of the Texture Painter screen: the top bar, tool rail, options bar, 3D view and view bar, 2D view, Layers, Generate with AI, save status, credits, texture size, view settings and help.