Texture Generator
Updated May 2026
The Texture Generator retextures entire 3D models using AI. Upload a model (GLB, FBX, or OBJ), provide a text prompt or reference image, and get back a fully textured GLB file with optional PBR material maps.
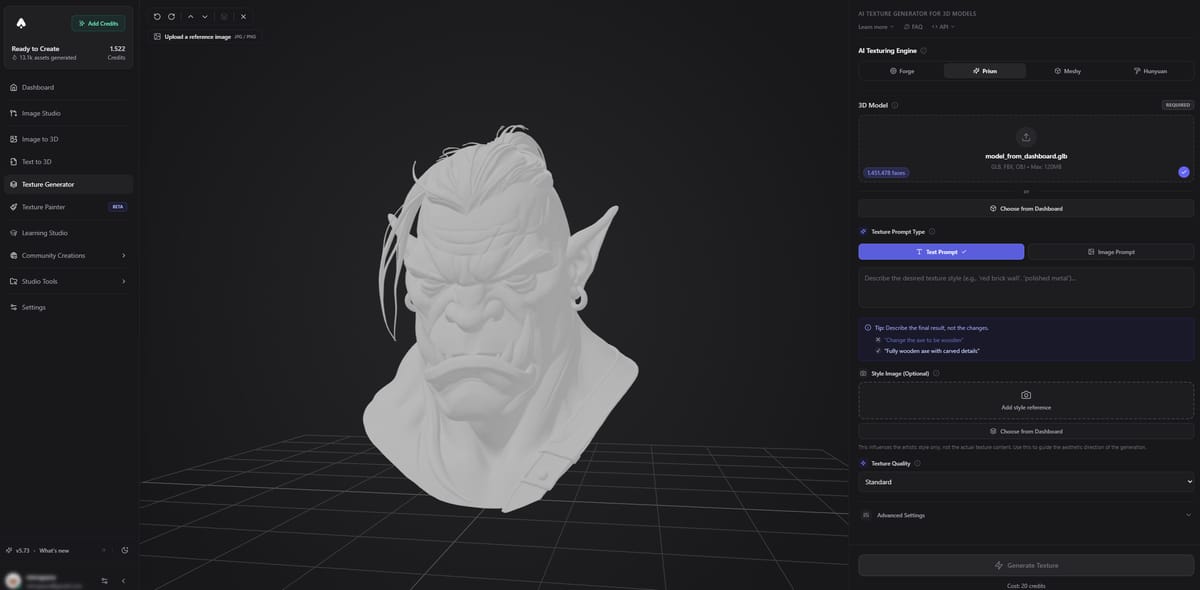
Upload your 3D model and choose an AI texturing engine on the right sidebar.
How It Works
- Upload your 3D model (GLB, FBX, or OBJ, up to 120MB)
- Pick an AI engine
- Enter a text prompt describing the textures you want, or upload a reference image
- Adjust quality and material settings
- Hit Generate (or press Ctrl+Enter)
- Preview the result and download the textured GLB
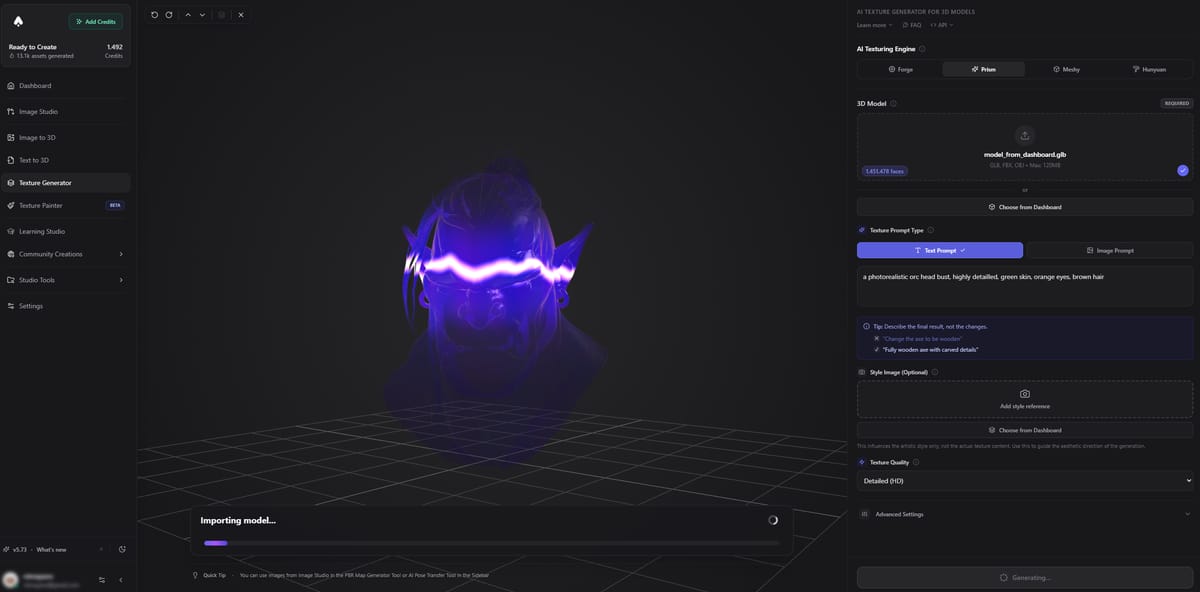
The AI analyzes your model and generates new textures. This takes 1-3 minutes depending on the engine.
AI Engines
The Texture Generator includes four AI engines. Each has different strengths.
| Engine | Credits | Best for |
|---|---|---|
| Prism (default) | 20 (standard) / 30 (HD) | Best overall quality, 4K support |
| Forge | 20 | Image reference-based texturing |
| Meshy | 25 | Good topology, UV preservation |
| Hunyuan | 20 | PBR materials from Tencent |
Engine Settings
Prism
Prism is the default engine and works best for most models.
- Texture quality: Standard or HD (HD costs 30 credits and produces sharper textures at 4K)
- PBR toggle: Enable to generate roughness, metalness, and normal maps alongside base color
- Texture alignment: Choose between “original image” (matches the model’s existing look) or “geometry” (ignores existing textures and works from the shape alone)
- Texture seed: Lock a seed value to get repeatable results
Forge
Forge is built around reference images. You must upload a reference image showing the look you want.
- Reference image: Required. The AI matches the style and materials from this image.
- Material type: PBR (physically-based) or Shaded (simpler, baked lighting)
- Resolution: Basic or High
Meshy
Meshy focuses on clean UV handling and consistent surface coverage.
- AI model: Choose between meshy-6 (newer) or meshy-5
- Preserve original UV: Keep the model’s existing UV layout intact
- PBR toggle: Generate full PBR material maps
Hunyuan
Hunyuan is Tencent’s texturing model. It accepts either a text prompt or a reference image, but not both at the same time.
- Input mode: Text prompt OR image prompt (pick one)
- PBR toggle: Generate PBR material maps
- File size limit: 200MB (higher than other engines)
PBR Maps
When PBR is enabled, the generator outputs these texture maps packed into the GLB file:
- Base color (albedo)
- Roughness
- Metalness
- Normal
These maps work directly in Unity, Unreal Engine, Blender, and any renderer that supports glTF PBR materials.
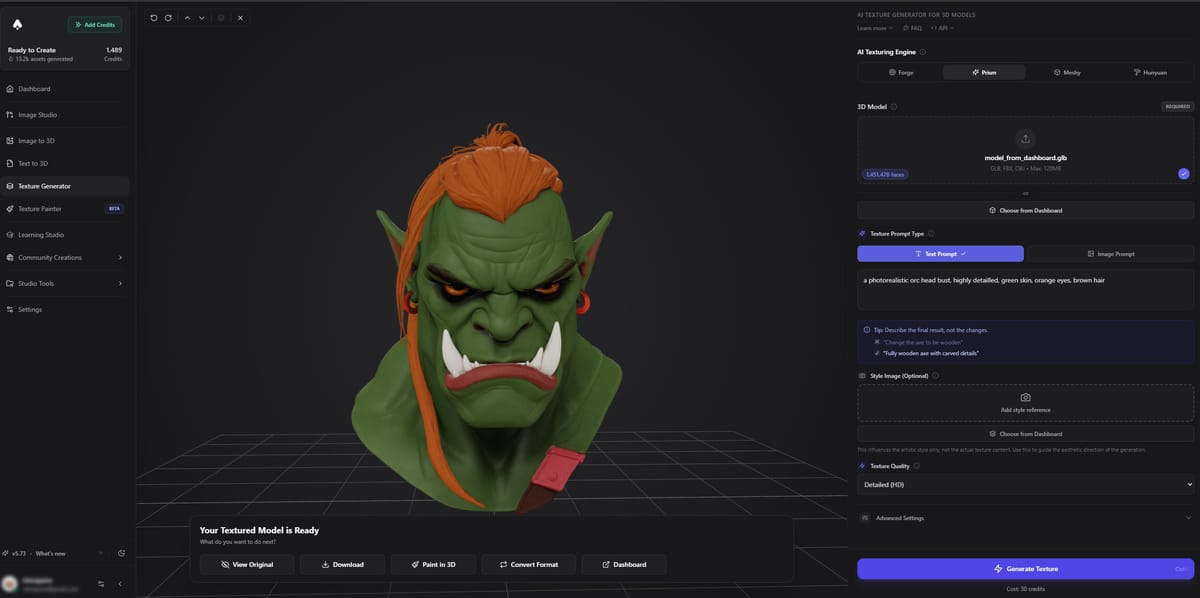
The finished result with AI-generated textures applied. You can toggle between the original and textured version.
After Generation
Once the AI finishes, you can:
- Download the textured GLB file
- Open in Texture Painter to refine specific areas with manual painting or AI projection
- Save to dashboard to keep the result in your project library
- Convert format to FBX, OBJ, or other formats using the converter tools
Tips
Start with Prism for most models. It handles the widest range of styles and produces the most consistent results.
- Add a reference image alongside your text prompt for more control over the final look
- Use the “Paint in 3D” button after generating to open the result in Texture Painter for manual touch-ups
- If the AI misses a section of the model, try “geometry” alignment mode in Prism
- Models with clean UVs produce better results across all engines
- File size limit is 120MB for most engines, 200MB for Hunyuan
Related Tools
- Need a model first? Generate one with Image to 3D or Text to 3D
- Need clean UVs before texturing? Run UV Unfold first
- Want to paint textures manually instead? Use the Texture Painter
- Ready to export? See Export Formats for format recommendations
- Importing into a game engine? Check the Integrations guides
Frequently Asked Questions
How much does AI texture generation cost?
In 3D AI Studio, texturing costs 20 to 30 credits per generation depending on the engine and quality setting. The Prism engine charges 20 credits for standard quality and 30 for HD (4K). Forge and Hunyuan cost 20 credits, while Meshy costs 25.
Can I retexture a model without losing the original shape?
Yes. The Texture Generator in 3D AI Studio only changes the surface appearance, not the geometry. Your model’s shape, vertex positions, and rigging data all stay intact. Only the UV-mapped textures get replaced.
What file formats work with the AI texture generator?
You can upload GLB, FBX, or OBJ files up to 120MB (200MB for Hunyuan). 3D AI Studio outputs the textured result as a GLB file with all texture maps embedded. You can then convert to other formats using the Remesh tool.
Do I need to UV unwrap my model before texturing?
Models with existing UVs produce better results, but it is not strictly required. If your model lacks UVs or has poor UV layouts, run the UV Unfold tool in 3D AI Studio first. This takes about 5 credits and gives the texture engine a clean layout to paint onto.
Can I use the generated PBR textures in Unity or Unreal Engine?
Absolutely. When PBR is enabled, 3D AI Studio outputs base color, roughness, metalness, and normal maps packed into a standard glTF material inside the GLB file. Both Unity and Unreal import this directly with no manual map assignment needed.
What is the difference between Texture Generator and Texture Painter?
The Texture Generator in 3D AI Studio retextures your entire model in one shot based on a prompt or reference image. The Texture Painter gives you manual control with brushes, layers, and angle-by-angle AI projection. Use the Generator for fast full-model results, and the Painter when you need precise area-by-area work.