Remesh Tool: Optimizing and Converting Your 3D Models
The Remesh tool in 3D AI Studio provides powerful optimization and format conversion capabilities for your 3D models. Whether you need to reduce polygon counts for better performance, convert between different file formats, or prepare models for specific applications, the remeshing system handles these tasks with precision and ease.
Understanding the Remesh System
3D AI Studio's remeshing functionality is thoughtfully divided into two distinct tools designed for different use cases. The primary remesh tool integrates directly with your generated models in the dashboard, providing optimized processing for models created using Text to 3D or Image to 3D generation. Additionally, an external remesh tool is available under Quick Utilities for processing 3D models imported from other sources.
This dual approach ensures that models generated within 3D AI Studio receive specialized optimization that takes advantage of the original generation parameters, while external models can still benefit from the powerful remeshing capabilities even though they lack the contextual information available to internally generated models.
Accessing the Remesh Tool for Generated Models
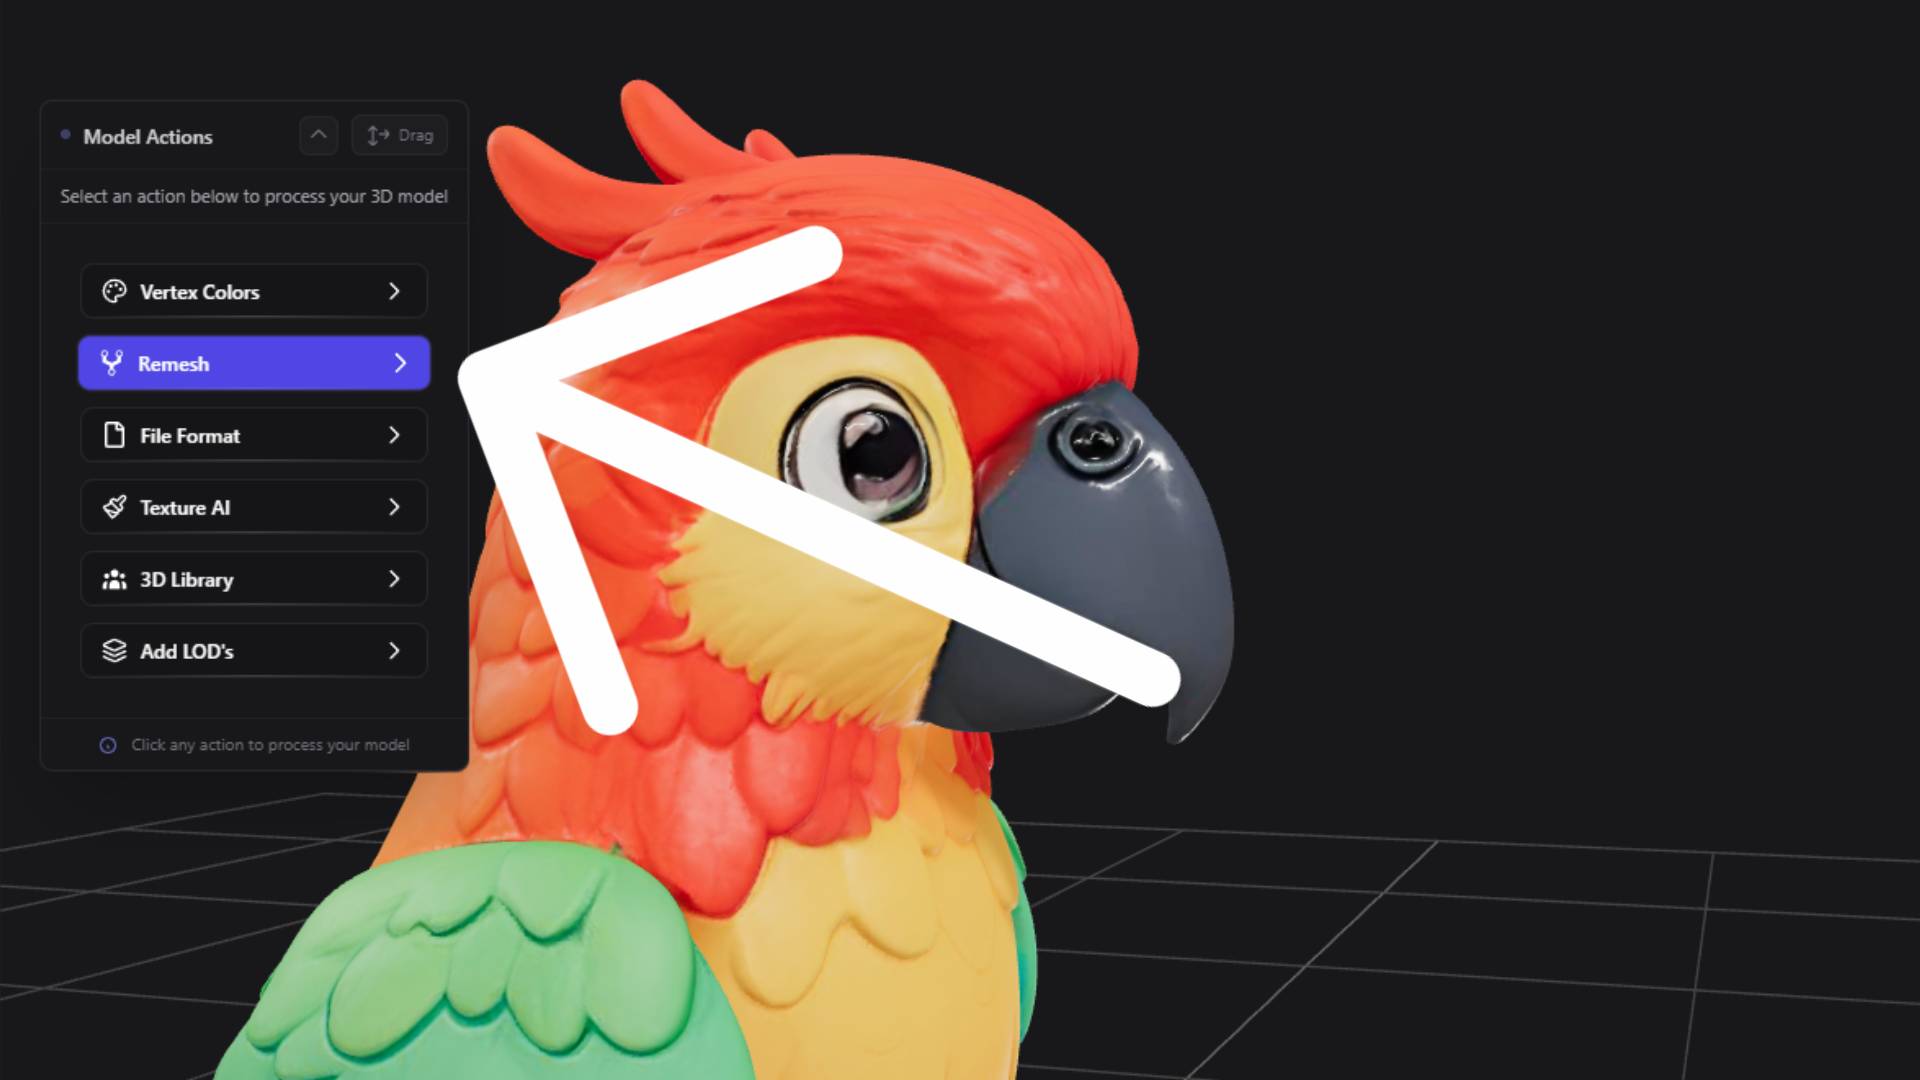
When you generate a 3D model using either Text to 3D or Image to 3D, the remeshing capabilities become immediately available through multiple access pathways. The most direct approach is clicking the Remesh button that appears in the 3D viewer immediately after your model generation completes. This provides instant access to optimization without navigating away from your current workflow.
Alternatively, you can access remeshing through your dashboard by hovering over any completed generation and clicking the Process button. This opens a comprehensive modal window that presents several post-processing options including vertex colors, texture application, IFED library access, remesh functionality, and file format conversion. The remesh option within this modal provides the same powerful capabilities as the direct button access, allowing you to choose the approach that best fits your workflow preferences.

Remesh Settings and Configuration
The remesh interface presents a comprehensive set of options that allow you to tailor the optimization process to your specific needs. Understanding these settings helps you achieve the best possible results for your intended application.
Export Format Selection
The format selection capability represents one of the most valuable aspects of the remesh tool. You can convert your model to any of six professional formats: GLB for web and real-time applications, FBX for animation and game engines, OBJ for universal compatibility, STL for 3D printing, USDC for advanced workflows, or Collada for academic and scientific applications. This flexibility eliminates the need for external conversion tools and ensures your models are ready for immediate use in your target application.
Mesh Density Control
The mesh density setting determines the target face count for your optimized model, with options ranging from 1000 to 20000 faces. This setting represents the balance between visual quality and performance, with higher face counts preserving more detail but requiring more processing power. The recommended setting of approximately 5000 faces provides an optimal balance for most applications, maintaining visual quality while ensuring good performance across different platforms and devices.
Mesh Topology Options
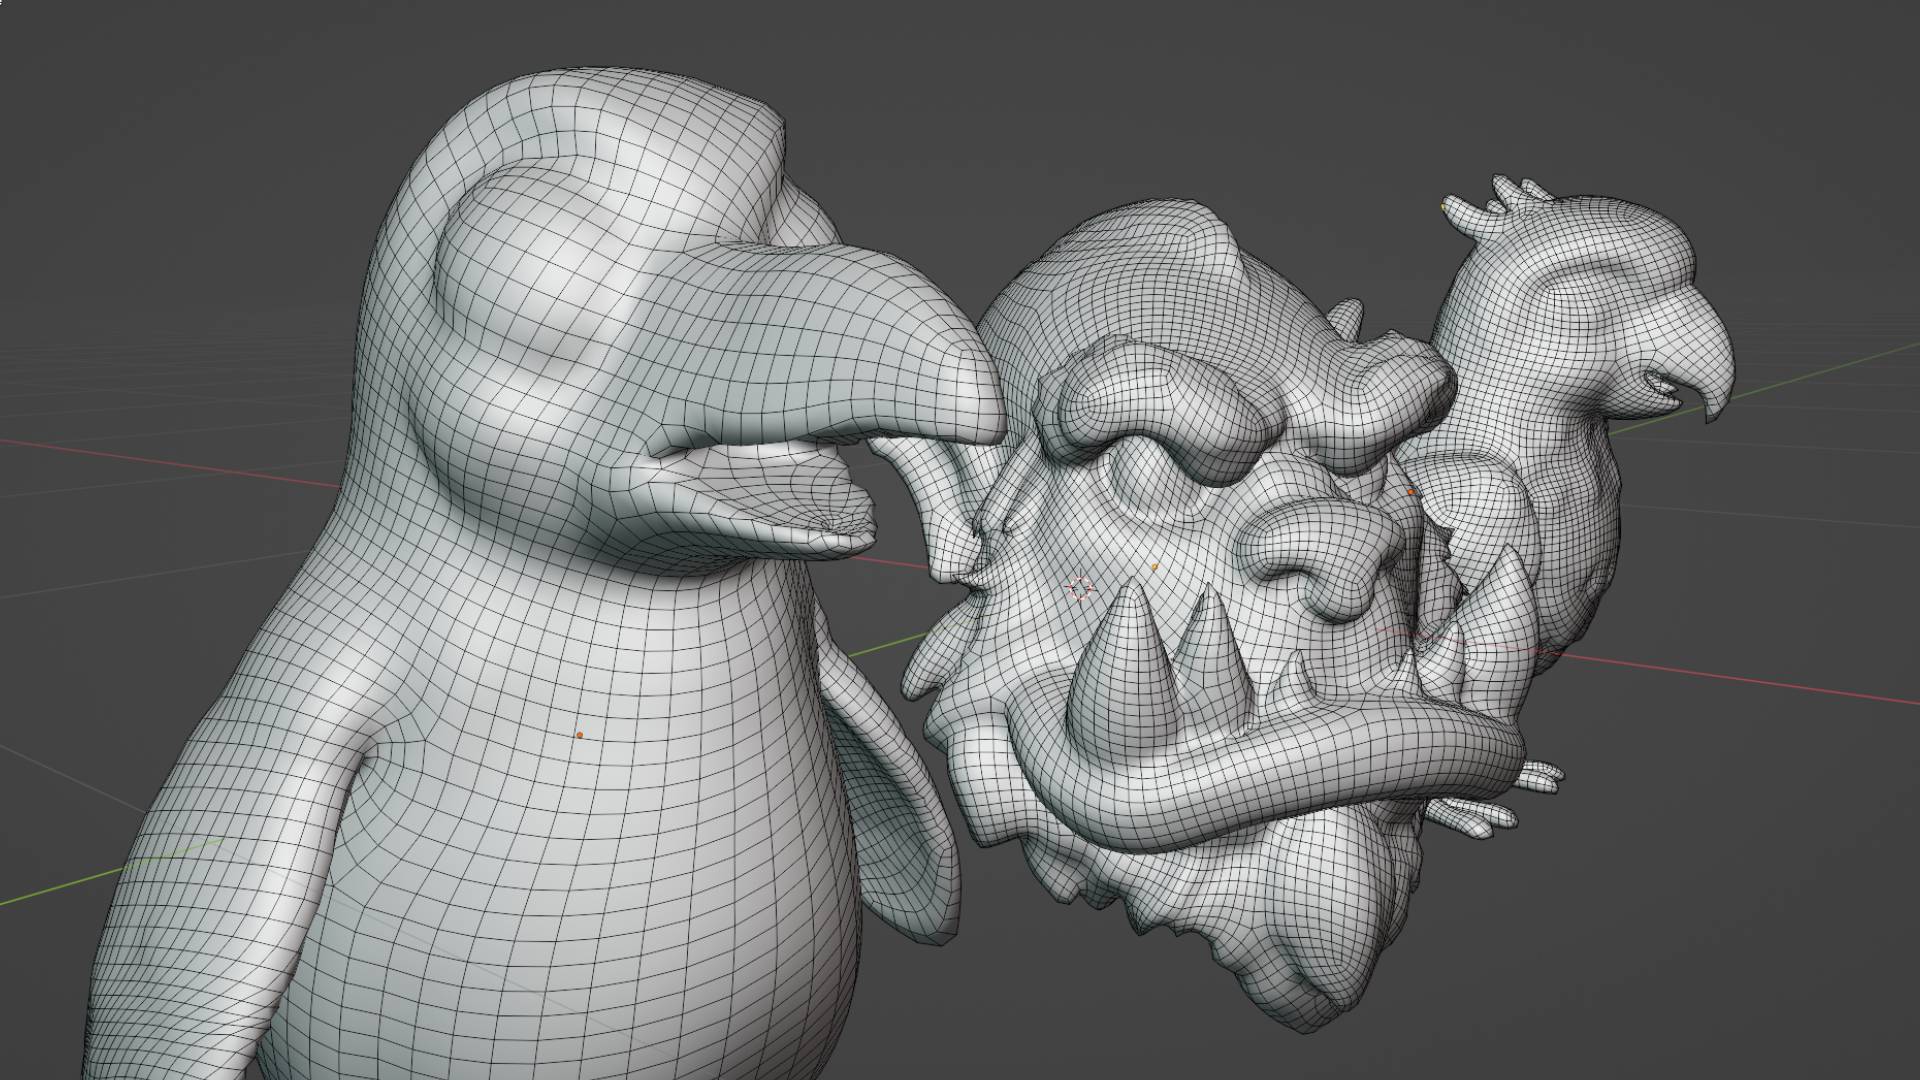
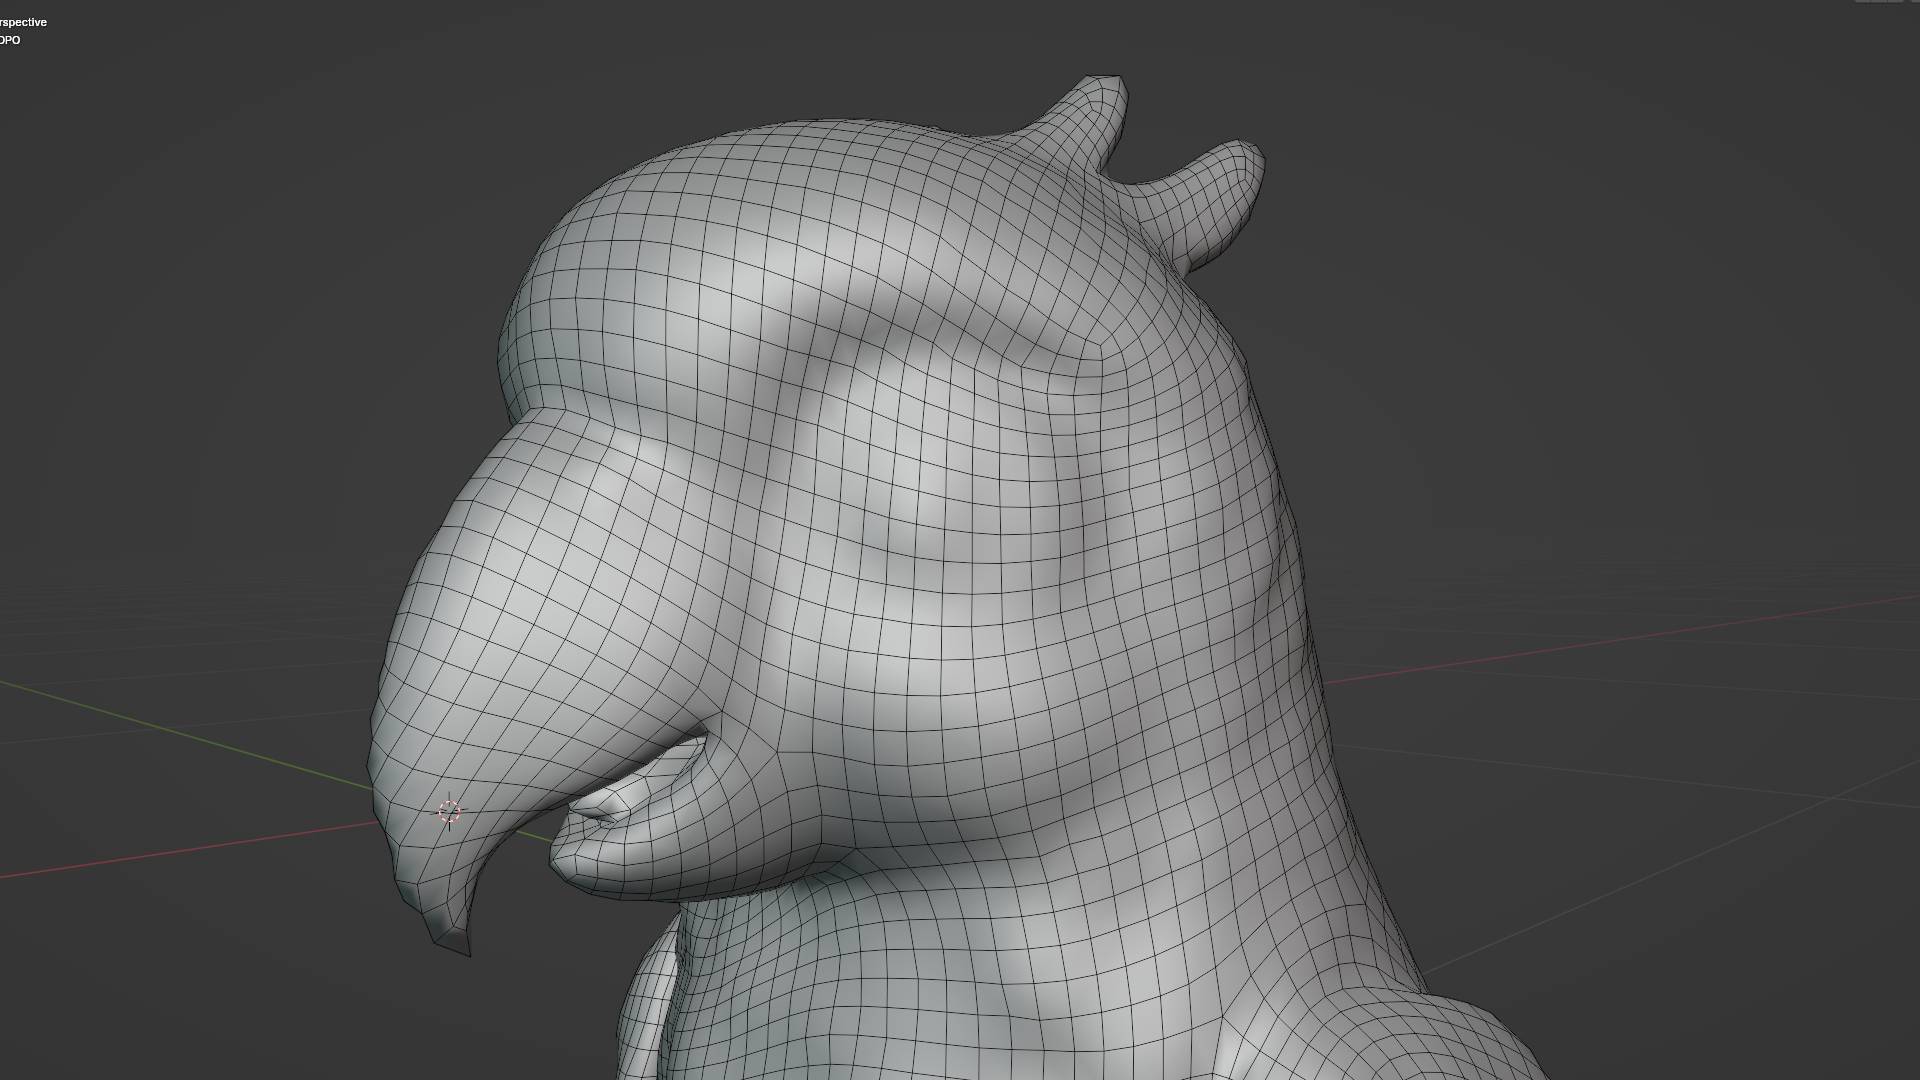
The topology settings allow you to choose between triangulated meshes or maintaining quad-based geometry. Triangulated meshes are preferred for game engines and real-time applications due to their consistent performance characteristics, while quad-based geometry is often preferred for animation and subdivision modeling workflows. Understanding your target application helps determine the most appropriate topology choice.
Pre-Processing Pipeline
The pre-processing pipeline offers three important options that can significantly improve your model's quality and compatibility. The vertex cleanup preset addresses common issues with vertices, normals, and UV coordinates that can cause problems in target applications. The structure repair preset fixes structural issues that might prevent proper model loading or display. The initial decimation option performs polygon reduction before the main remeshing process, which can improve the quality of the final optimization when dealing with extremely high-polygon source models.
When choosing initial decimation, you can select a decimation rate between 0.1 and 0.9, where lower values perform more aggressive reduction. This pre-processing step is particularly valuable when working with models that have significantly more geometry than your target face count, as it allows the remeshing algorithm to work more effectively on an appropriately sized base mesh.
Texture Settings Configuration
The texture settings provide control over how material information is handled during the remeshing process. The texture baking option allows you to capture the current material appearance and convert it into texture maps that can be applied to the optimized geometry. This is particularly important when the remeshing process changes the underlying geometry significantly, as it ensures that the visual appearance remains consistent.
When texture baking is enabled, you can choose the resolution for the baked textures from 512, 1000, 2000, or 4000 pixels. Higher resolutions preserve more detail but create larger files, so the choice depends on your quality requirements and file size constraints. The texture format selection between PNG and JPEG allows you to balance quality and file size, with PNG providing lossless compression and JPEG offering smaller files with slight quality trade-offs.
Basic Optimization Options
The basic optimization settings provide additional control over the final model characteristics. The merge vertices option combines nearby vertices to reduce file size and improve performance, which is particularly beneficial for models that will be used in real-time applications or need to meet specific file size requirements.
The export texture separately option addresses compatibility issues with certain file formats that cannot embed texture information directly. When this option is enabled, the system exports a zip file containing both your optimized model and the texture files as separate assets. This is particularly useful for formats like STL that don't support embedded textures, or when you need to maintain separate texture files for specific workflow requirements.

The Remeshing Process
Once you've configured your remesh settings according to your requirements, initiating the process is straightforward. Clicking the "Start Remesh" button begins the optimization process, which typically completes in approximately one minute depending on the complexity of your model and the selected settings.
During processing, the remeshing system applies your chosen settings systematically, first performing any selected pre-processing steps, then applying the mesh density optimization, configuring the topology according to your preferences, and finally handling texture baking and format conversion. The system provides feedback throughout the process, so you understand the progress and can plan your next steps accordingly.
Results and Download
After the remeshing process completes, your optimized model appears in your dashboard alongside your original generation. This maintains a clear relationship between the original and optimized versions, allowing you to compare results and choose the most appropriate version for different applications.
The download process is immediate and straightforward, providing you with your optimized model in the selected format. If you chose to export textures separately, the download will be a zip file containing both the model and texture files. Otherwise, you'll receive a single file with embedded materials and textures as supported by your chosen format.
External Remesh Tool
For models created outside of 3D AI Studio, the external remesh tool provides similar optimization capabilities through the Quick Utilities section in the sidebar. This tool offers the same comprehensive settings and options as the main remesh tool, but operates independently of the generation context that helps optimize models created within the platform.
While the external tool provides the same powerful remeshing capabilities, it's specifically designed for imported models and may not achieve the same level of optimization as the integrated tool when working with models generated by 3D AI Studio. For best results with generated models, always use the integrated remesh tool accessed through the dashboard or post-generation interface.
Choosing the Right Settings
Selecting appropriate remesh settings depends on your intended application and quality requirements. For game development, moderate face counts with triangulated topology and texture baking often provide the best balance of quality and performance. For 3D printing, higher face counts with structure repair pre-processing ensure successful printing results.
Web applications benefit from lower face counts and GLB export format for optimal loading performance, while animation workflows often prefer quad topology and higher face counts to maintain deformation quality. Understanding these application-specific requirements helps you make informed decisions about your remesh settings.
Workflow Integration
The remesh tool integrates seamlessly with other 3D AI Studio capabilities, allowing you to combine optimization with texture generation, format conversion, and other post-processing steps. This integration ensures that your workflow remains efficient and that all processing steps work together to achieve your desired results.
By understanding and utilizing the comprehensive remesh capabilities, you can ensure that your 3D models are optimized for their intended applications while maintaining the visual quality and technical specifications your projects require. The tool's flexibility and power make it an essential component of any serious 3D workflow, whether you're working on game development, 3D printing, web deployment, or any other application requiring optimized 3D assets.
Start optimizing your models by accessing the Remesh tool through your 3D AI Studio Dashboard (opens in a new tab) after generating any 3D model, or explore how remeshing combines with Texture Generation for complete model preparation workflows.